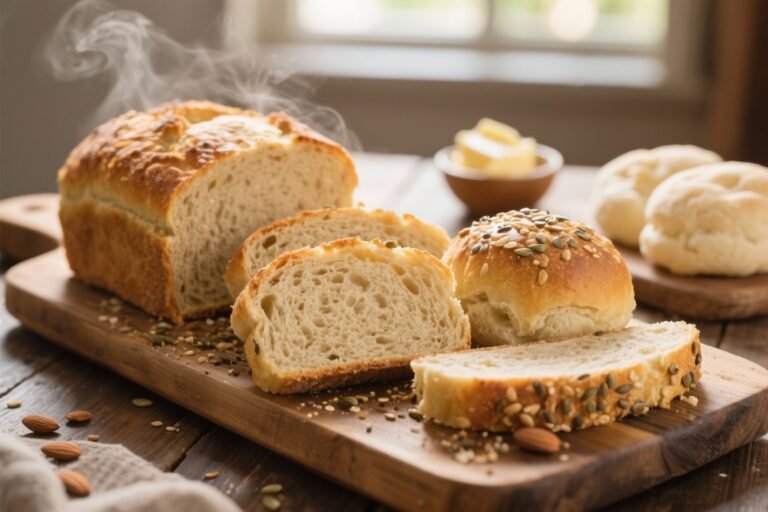
Garlic and Herb No-Knead Bread
You ever see those crusty artisan loaves and think, “There’s no way I could make that”? Well, joke’s on you (and me, tbh), because this garlic and herb no-knead bread proves otherwise. It’s dead simple, stupid delicious, and smells like an Italian grandma moved into your kitchen.
You don’t need a mixer. You don’t need skills. You do need to be mildly patient, but hey—the dough basically makes itself while you binge Netflix. So really, you’re just being efficient.
What Makes This Bread a Total Win
Let’s break it down. This bread has:
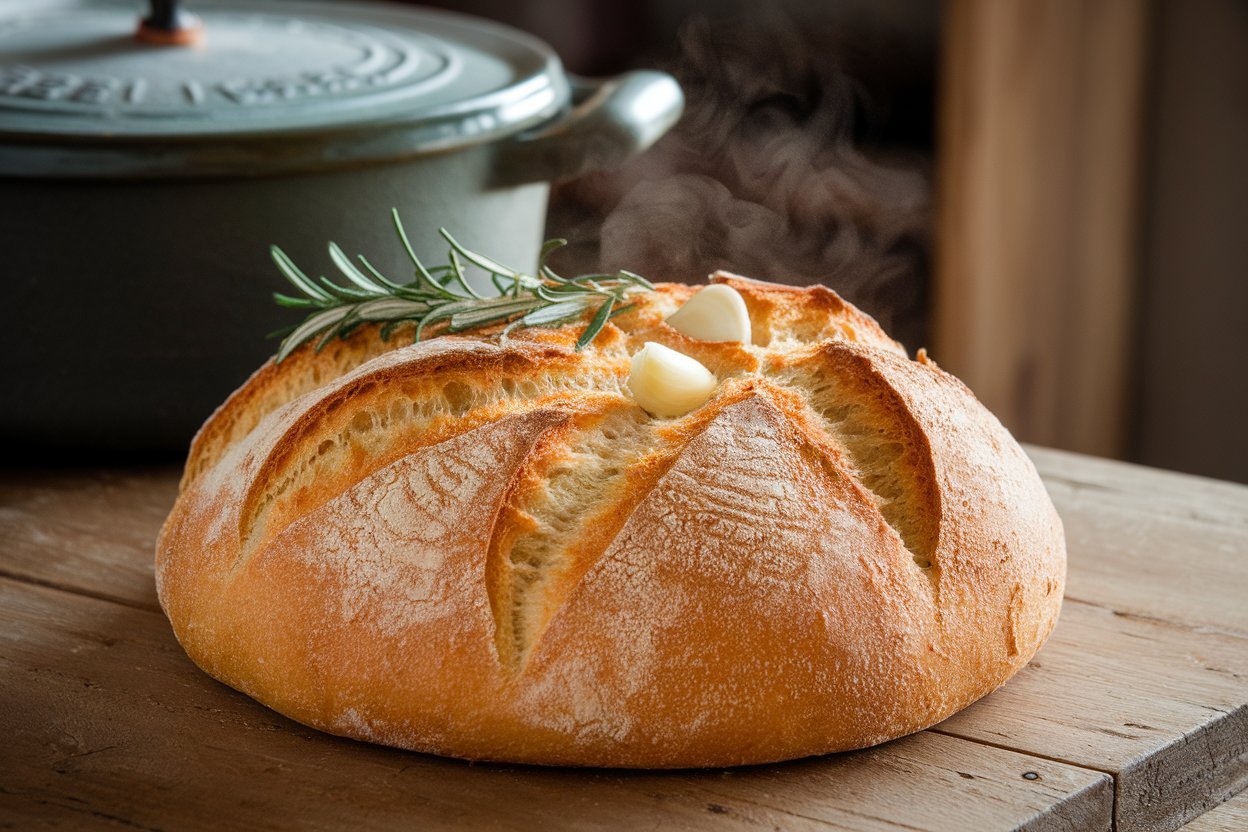
- A shatteringly crisp crust (don’t skip the Dutch oven, more on that below)
- A soft, chewy interior laced with garlic and Italian herbs
- Minimal effort—literally no kneading
- That rustic, bakery-style look that makes people ask, “You made that?”
- A way to make your kitchen smell like a cozy carb temple
IMO, this is the kind of bread you whip out when you want to impress people but don’t want to actually, like, work that hard.
Ingredients (Minimal Drama, Maximum Flavor)
You’ll need:
- 3 cups all-purpose flour
- 1/2 tsp active dry yeast
- 1 1/2 tsp salt
- 1 1/2 cups warm water (not hot—think bathwater)
- 3 cloves garlic, minced
- 1 1/2 tsp dried herbs (Italian seasoning, rosemary, oregano—whatever vibe you’re going for)
- Optional: 1 tbsp olive oil for richness
That’s it. No eggs. No milk. Nothing weird.
Step-by-Step Instructions (Bread for the Lazy Genius)
- Mix it all together. In a big bowl, stir the flour, yeast, salt, garlic, and herbs. Add the water and olive oil, then stir until a shaggy dough forms. Don’t overthink it. It’ll look messy. That’s normal.
- Cover and ignore. Cover the bowl with plastic wrap or a clean towel. Let it sit at room temp for 12–18 hours. Yes, hours. Go live your life.
- Preheat like a boss. Stick a Dutch oven (or heavy oven-safe pot with lid) into the oven and crank it to 450°F (232°C). Let it heat for at least 30 minutes.
- Shape the dough. Turn the dough onto a floured surface. It’ll be sticky—don’t panic. Use floured hands to shape it into a ball. Let it rest for 30 minutes while your pot preheats.
- Bake it hot. Carefully (and I mean carefully) transfer the dough into the hot pot. Cover with the lid. Bake 30 minutes covered, then 15–20 minutes uncovered until golden and crusty.
- Let it cool. I know it smells amazing, but let it rest at least 20 minutes before slicing. Trust me on this.
Nutrition Info (Approx, Because Who’s Counting?)
Per thick slice (1 of 10):
~180–200 calories
Basically: carbs, a little fat if you added oil, and loads of joy.
Common Mistakes (Learn From My Bread Blunders)
- Using too much yeast. You don’t need more than 1/2 tsp. The long rise does the work.
- Skipping the Dutch oven. That hot, enclosed environment is how you get that crispy crust. No Dutch oven = sad, soft crust.
- Messing with the dough too much. It’s supposed to look sticky and ugly. Leave it be.
- Not letting it rest before slicing. You’ll squash all the steam and ruin the crumb. Patience = better bread.
Variations & Add-Ons
Want to spice it up? Try these ideas:
- Swap garlic for roasted garlic (trust me, game changer)
- Add parmesan or cheddar to the dough before baking
- Try fresh herbs like chopped rosemary or thyme
- Add chopped olives or sun-dried tomatoes for Mediterranean vibes
- Sprinkle flaky sea salt on top before baking for extra crunch
FAQ
Can I use instant yeast?
Yep—use the same amount. Just make sure your water isn’t hot, or you’ll kill the yeast (RIP, bubbles).
No Dutch oven?
Use any oven-safe pot with a lid. Or try a baking stone with an upside-down baking sheet over the top. Not as good, but it works.
Can I let it rise in the fridge?
Totally. Stick it in the fridge for up to 24 hours. Just let it come to room temp before baking.
Can I make it gluten-free?
Honestly… not this recipe. Coconut or almond flour won’t cut it here. Try a specific GF no-knead bread recipe instead.
Final Thoughts
This garlic and herb no-knead bread is lazy bread magic. You mix. You wait. You bake. That’s it. And yet, somehow it tastes like something you spent all day sweating over with a wooden spoon and an apron that says “blessed.” 😅
Whether you’re dunking it in soup, making next-level grilled cheese, or just eating hunks of it with butter like a cave person, it delivers on all fronts.
Pro tip: make two loaves. One for everyone else. One for “testing purposes.” 😉