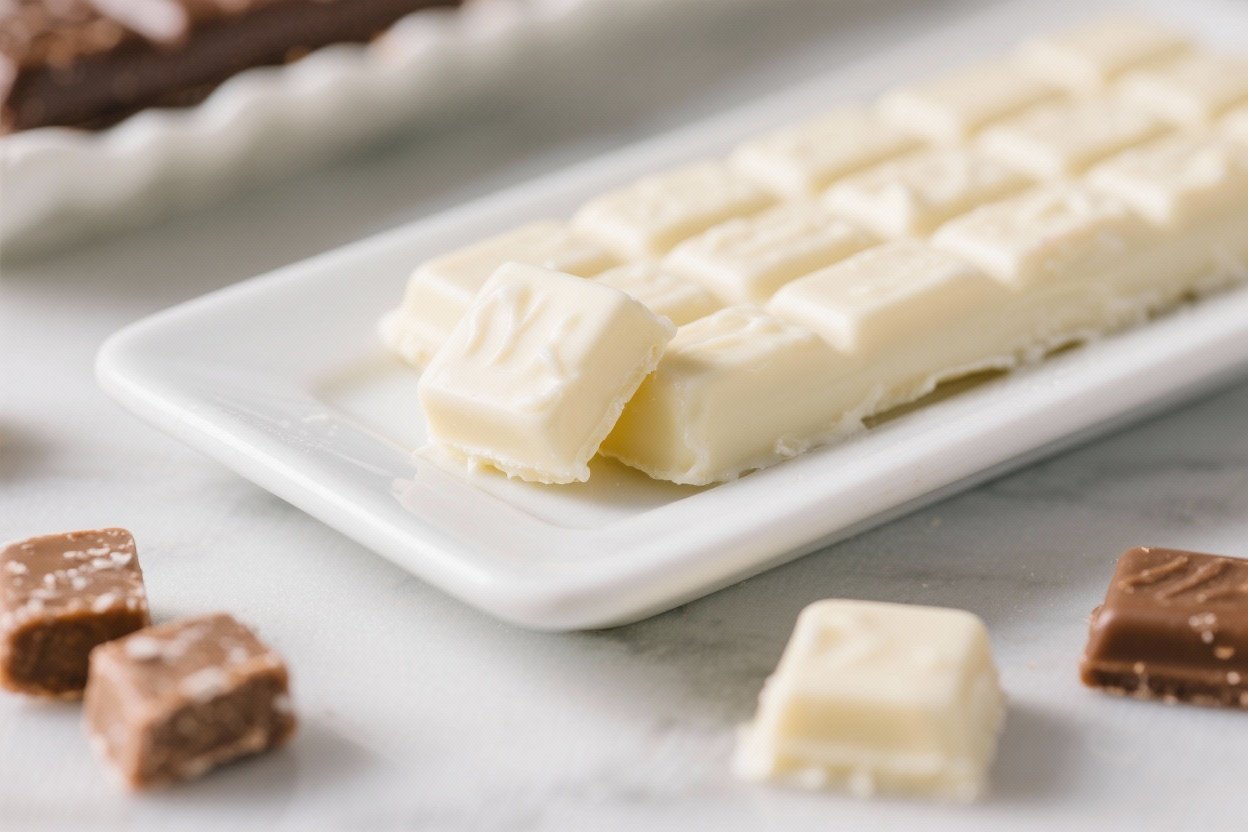
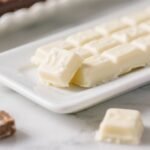
Easy Homemade White Chocolate Recipe (DIY Candy Bar) – Simple and Delicious
White chocolate gets a bad rap, but when you make it at home, it’s creamy, fragrant, and surprisingly easy. This version tastes like the good stuff: cocoa butter-forward, not cloying, with a silky snap when set. You only need a handful of ingredients and a gentle heat.
No special equipment required, though a thermometer helps. Make bars, chips, or drizzle—once you try it, you’ll never go back to chalky store-bought.
Easy Homemade White Chocolate Recipe (DIY Candy Bar) - Simple and Delicious
Ingredients
- Cocoa butter (food-grade), 6 oz (170 g)
- Powdered sugar, 1 cup (120 g), sifted
- Whole milk powder, 1/2 cup (50 g), sifted (use coconut milk powder for dairy-free)
- Vanilla extract or vanilla bean powder, 1–2 teaspoons
- Pinch of fine sea salt
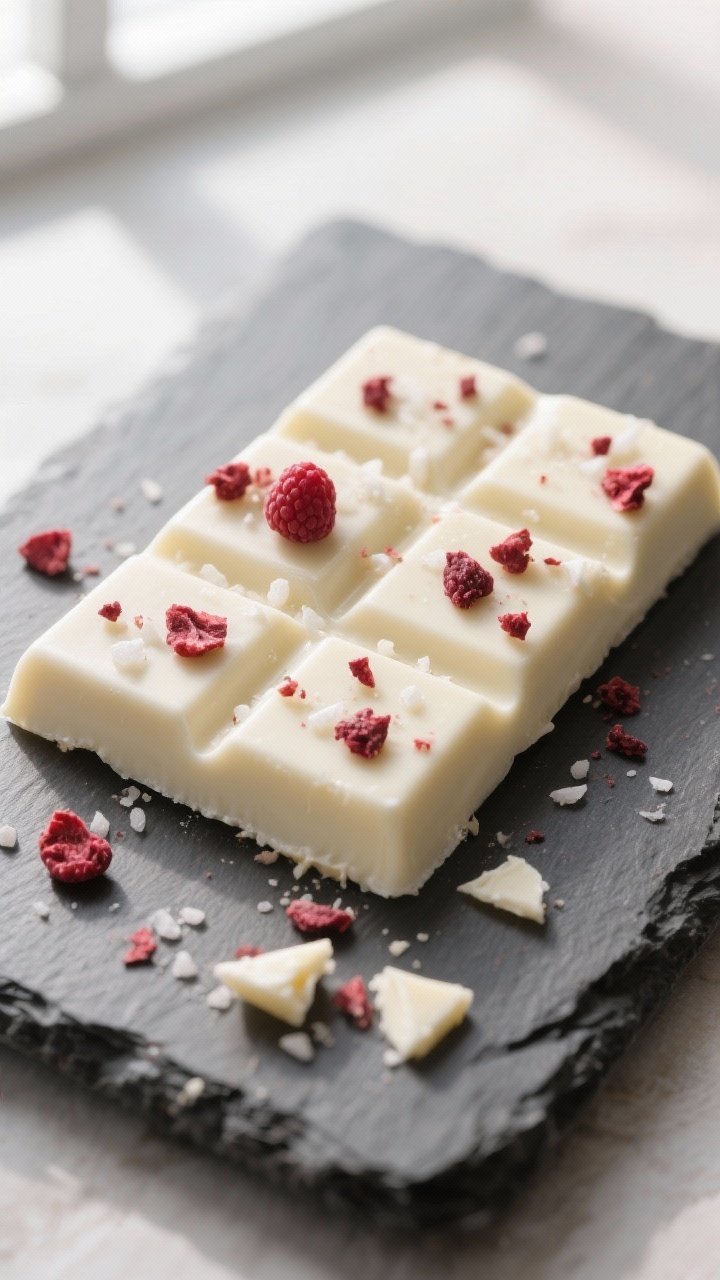
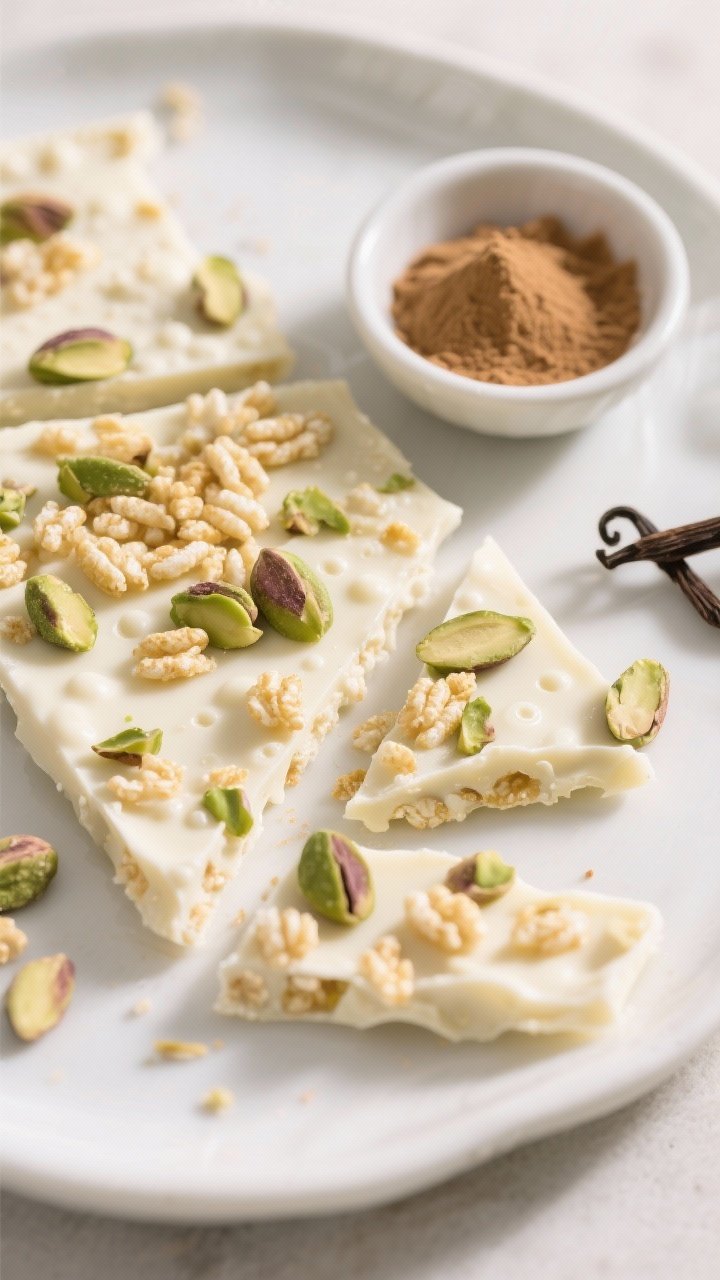
- Optional add-ins: chopped nuts, crushed freeze-dried berries, puffed rice, mini marshmallows
Instructions
- Prep your gear: Line a small loaf pan or bar molds with parchment.Have a whisk or silicone spatula ready. Sift the powdered sugar and milk powder to remove lumps.
- Set up a double boiler: Bring an inch of water to a gentle simmer in a saucepan. Place a heatproof bowl on top, making sure it doesn’t touch the water.
- Melt the cocoa butter: Add cocoa butter to the bowl.Heat gently, stirring, until fully melted and clear. Keep the temperature under 130°F (54°C) to protect the flavor.
- Whisk in the dry ingredients: Remove from heat. Add powdered sugar, milk powder, salt, and vanilla.Whisk until smooth. If it thickens, put it back over the warm water briefly.
- Strain for ultra-smooth texture (optional): Pass the mixture through a fine mesh sieve into a clean bowl to catch any tiny lumps.
- Quick temper for shine (recommended): Cool the mixture to about 80–82°F (27–28°C), stirring continuously. Then rewarm gently to 84–86°F (29–30°C).This encourages stable cocoa butter crystals for a glossy finish and clean snap.
- Add mix-ins: Stir in any extras now so they distribute evenly.
- Pour and set: Pour into your lined pan or molds. Tap lightly to release air bubbles. Smooth the top with a spatula.
- Chill briefly: Refrigerate for 15–25 minutes, just until firm.Don’t over-chill or you may get condensation later.
- Unmold and store: Pop out the bar. If you tempered, it should be glossy and firm at room temperature.
Why This Recipe Works

- Real cocoa butter: The base of true white chocolate. It brings natural vanilla-honey notes and a smooth melt.
- Low and slow heat: Gentle melting prevents scorching and graininess.
- Powdered sugar: Dissolves quickly, keeping the texture silky instead of gritty.
- Milk powder: Adds creamy body and that classic white chocolate flavor.
- Optional tempering: A quick temper gives your bars a glossy finish and crisp snap.
Shopping List
- Cocoa butter (food-grade), 6 oz (170 g)
- Powdered sugar, 1 cup (120 g), sifted
- Whole milk powder, 1/2 cup (50 g), sifted (use coconut milk powder for dairy-free)
- Vanilla extract or vanilla bean powder, 1–2 teaspoons
- Pinch of fine sea salt
- Optional add-ins: chopped nuts, crushed freeze-dried berries, puffed rice, mini marshmallows
Step-by-Step Instructions
- Prep your gear: Line a small loaf pan or bar molds with parchment.
Have a whisk or silicone spatula ready. Sift the powdered sugar and milk powder to remove lumps.
- Set up a double boiler: Bring an inch of water to a gentle simmer in a saucepan. Place a heatproof bowl on top, making sure it doesn’t touch the water.
- Melt the cocoa butter: Add cocoa butter to the bowl.
Heat gently, stirring, until fully melted and clear. Keep the temperature under 130°F (54°C) to protect the flavor.
- Whisk in the dry ingredients: Remove from heat. Add powdered sugar, milk powder, salt, and vanilla.
Whisk until smooth. If it thickens, put it back over the warm water briefly.
- Strain for ultra-smooth texture (optional): Pass the mixture through a fine mesh sieve into a clean bowl to catch any tiny lumps.
- Quick temper for shine (recommended): Cool the mixture to about 80–82°F (27–28°C), stirring continuously. Then rewarm gently to 84–86°F (29–30°C).
This encourages stable cocoa butter crystals for a glossy finish and clean snap.
- Add mix-ins: Stir in any extras now so they distribute evenly.
- Pour and set: Pour into your lined pan or molds. Tap lightly to release air bubbles. Smooth the top with a spatula.
- Chill briefly: Refrigerate for 15–25 minutes, just until firm.
Don’t over-chill or you may get condensation later.
- Unmold and store: Pop out the bar. If you tempered, it should be glossy and firm at room temperature.
Keeping It Fresh
- Storage: Keep in an airtight container at cool room temperature (60–70°F / 16–21°C) for up to 2 weeks.
- Avoid the fridge: Moisture can cause sugar bloom (a dusty look). If your kitchen is hot, wrap tightly and chill, then let it come to room temp before opening.
- Freeze if needed: Double-wrap and freeze for up to 2 months.
Thaw overnight in the fridge, then bring to room temp before unwrapping to avoid condensation.
Why This is Good for You
- Simple ingredients: No palm oil, artificial flavors, or waxy fillers—just real cocoa butter, milk, sugar, and vanilla.
- Customizable sweetness: Adjust sugar to taste or use vanilla bean for more flavor without extra sugar.
- Allergy-friendly options: Use coconut milk powder for dairy-free and choose add-ins that fit your needs.
What Not to Do
- Don’t overheat the cocoa butter: High heat can scorch and dull the flavor.
- Don’t skip sifting: Lumps lead to grainy chocolate.
- Don’t let water in: Even a drop can seize the mixture into a paste.
- Don’t rush the set: Over-chilling can cause bloom when it warms up.
Alternatives
- Dairy-free: Swap whole milk powder for coconut milk powder and use vanilla bean powder instead of extract to avoid extra moisture.
- Less sweet: Reduce powdered sugar by 2–3 tablespoons; add a little extra milk powder to maintain body.
- Flavor twists: Add almond extract, citrus zest, cardamom, or finely ground freeze-dried berries for color and tang.
- Crispy bar: Fold in puffed rice or crushed wafer cookies.
FAQ
Can I use cocoa butter from skincare products?
No. Use only food-grade cocoa butter. Cosmetic-grade may contain additives and isn’t processed for eating.
My chocolate is grainy—what went wrong?
It’s usually undissolved sugar or milk powder, or overheating.
Rewarm gently over the double boiler and whisk. Straining through a fine sieve helps smooth it out.
Do I have to temper it?
No, but tempering gives better snap, shine, and shelf stability. If you skip it, store the bars cooler and expect a softer texture.
Can I use granulated sugar instead of powdered?
Not recommended.
Granulated sugar won’t dissolve well here and will make the chocolate gritty.
Is white chocolate actually chocolate?
Yes—when it’s made with real cocoa butter. It doesn’t have cocoa solids, but cocoa butter is a core part of the cacao bean.
How can I make it whiter?
Use pale cocoa butter and light milk powder. Avoid brown vanilla extracts; choose clear vanilla or vanilla bean powder.
What molds work best?
Any silicone candy mold or a parchment-lined loaf pan.
For thin bars, use a baking sheet lined with parchment and spread to desired thickness.
In Conclusion
Homemade white chocolate is simple, fast, and tastes far better than most store-bought bars. With real cocoa butter, a gentle melt, and a quick temper, you get smooth, glossy candy every time. Keep the ingredients clean, play with flavors, and make it your own.
This is an easy treat you’ll want to keep on hand for snacking, baking, and gifting.