How To Make A White Chocolate
Let me guess—you’ve stared into the soulless abyss that is the supermarket white chocolate shelf and thought, “Why does this taste like sweetened candle wax?” Yeah, same.
If you’ve ever dreamed of making your own white chocolate that doesn’t taste like regret and palm oil, you’re in the right place. Spoiler alert: it’s easier than you think, and you don’t need a degree in pastry arts. Just a little patience, the right ingredients, and a tolerance for sticky fingers.
Let’s dive in, shall we?
What Even Is White Chocolate?

Alright, quick reality check: white chocolate isn’t technically “real” chocolate.
Yeah, I know. Shocking. But before you flip the table, hear me out.
White chocolate is made from:
- Cocoa butter (the magical fat pressed from cacao beans)
- Sugar (sweet, sweet sugar)
- Milk solids (think powdered milk, not that weird carton stuff)
- And sometimes a dash of vanilla for flavor
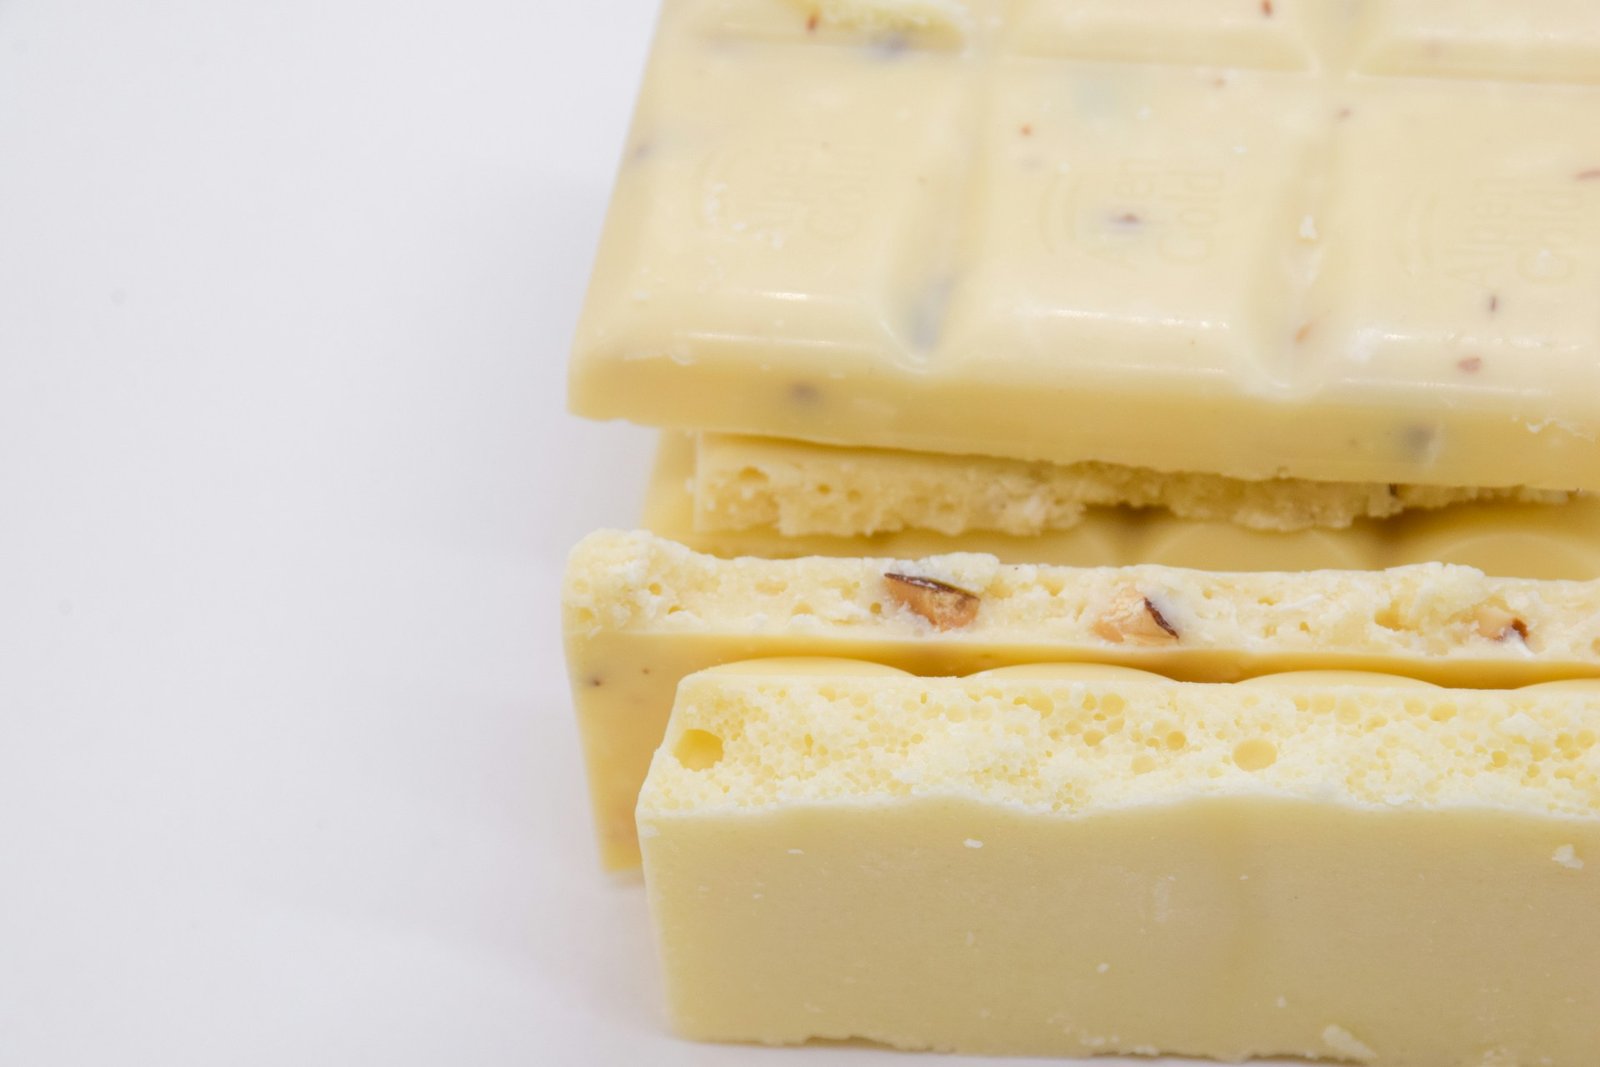
Notice anything missing? That’s right—no cocoa solids, aka the stuff that gives dark and milk chocolate their signature taste and color. That’s why white chocolate is ivory or pale yellow, and why the chocolate snobs give it the side-eye.
But let’s be honest—when it’s made right, white chocolate slaps. It’s buttery, creamy, sweet, and the perfect base for endless experiments.
What You’ll Need (a.k.a. The Grocery List You Can’t Ignore)
Let’s talk ingredients. Don’t cheap out here. This isn’t the time to buy mystery “white chips” from the bargain bin at the gas station. You want quality.
🛒 Ingredients:
- 100g (3.5 oz) cocoa butter – Unrefined and food-grade only, please. No, you can’t use your body lotion.
- 100g powdered sugar – Sift it unless you like lumpy chocolate (you don’t).
- 50g milk powder – Whole milk powder is your friend. None of that low-fat nonsense.
- 1 tsp vanilla extract or vanilla bean paste – Optional, but adds big flavor points.
- A tiny pinch of salt – Because you’re not a monster.
- Lecithin (optional) – Helps with texture. If you’re feeling fancy, go for it.
🍳 Equipment:
- Double boiler or DIY version (glass bowl over a pot—classic)
- Candy thermometer (optional, but super helpful)
- Silicone chocolate molds (or ice cube trays if you’re on a budget)
- Spatula (because you’re not stirring with a spoon like a caveman)

Step-by-Step: How to Make White Chocolate Without Losing Your Mind
Alright, here’s where the magic happens. Get comfy, play some lo-fi beats, and channel your inner chocolatier.
Step 1: Melt the Cocoa Butter
Fill a saucepan with a bit of water and bring it to a simmer. Place your glass bowl (or official double boiler) on top. Add the cocoa butter and let it melt slowly.
Pro tip: Don’t crank the heat. Cocoa butter is like a diva—it melts around 90-100°F and freaks out if it gets too hot. Keep it chill.
Step 2: Add the Sugar and Milk Powder
Once everything’s all melty and dreamy, sift in the powdered sugar and milk powder. Stir like you mean it. The mixture will look thicker, almost like a batter.
FYI: If it looks clumpy, don’t panic. Just keep stirring. You’re the boss here.
Step 3: Vanilla, Salt, and Smooth Moves
Add your vanilla and that itty-bitty pinch of salt. If you’re using lecithin, this is where it goes in. Stir it all together until smooth and glossy.
Optional flex: Blend the mixture with an immersion blender or food processor for extra silkiness. Only if you’re feeling like a perfectionist today.
Step 4: Pour and Set
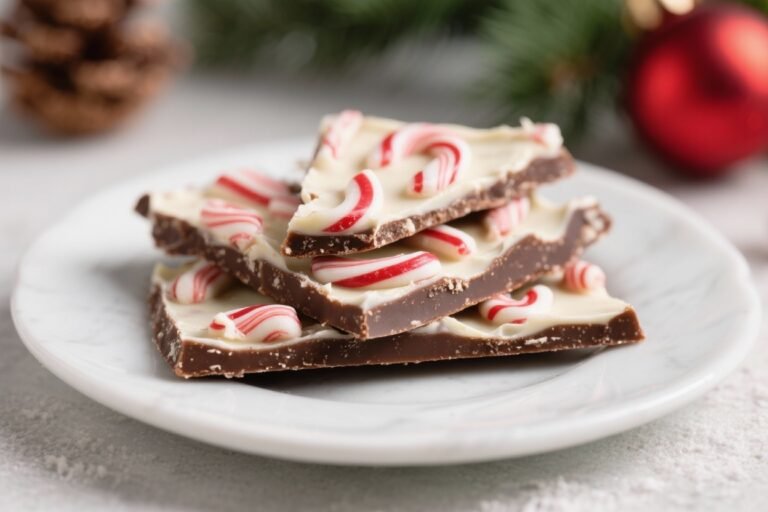
Pour the mixture into your molds. Tap them gently on the counter to get rid of air bubbles. You can even toss in extras like crushed freeze-dried berries, chopped nuts, or cookie bits if you want to get wild.
Then, toss them in the fridge for at least 2 hours. Or the freezer for 30 minutes if you’re impatient like me.
The Hard Part: Waiting
Congrats! You did the thing. Now comes the hardest part of all: not eating them straight out of the mold while they’re still soft and half-set.

Let them chill properly so they snap cleanly and don’t melt in your hands like a sad marshmallow in July.
Okay, But How Do I Make It Fancy?
Ah, so you’ve got the basics down and now you want to get bougie. I see you. Let’s go.
✨ Fancy Upgrades:
- Add Matcha Powder: For that trendy green hue and earthy flavor.
- Infuse with Citrus Zest: Lemon or orange zest = flavor bomb.
- Mix in Lavender or Rose Petals: Because your chocolate deserves to be the main character.
- Swirl with Dark Chocolate: For a marbled effect that screams “Instagram me.”
Troubleshooting Your Chocolate Chaos
Because let’s be real—sometimes stuff goes sideways.
🤔 “My chocolate is grainy!”
- You probably overheated it or didn’t sift your sugar/milk powder. Next time, lower the heat and sift like your life depends on it.
🤔 “It won’t set properly.”
- Chill it longer. Or double-check that you didn’t mess up your ratios. White chocolate can be needy like that.
🤔 “It tastes weird.”
- Check your cocoa butter. If it smells like a candle aisle, toss it. Only food-grade, always.
Why Make It Yourself?
Let’s keep it 100: store-bought white chocolate is usually garbage. It’s full of fillers, stabilizers, and enough sugar to power a toddler for a week.
Making it yourself means:
- You control the ingredients.
- You can customize the flavor.
- You get major bragging rights. (“Oh this? Just a little chocolate I whipped up from scratch. No big deal.”)
Final Thoughts (and a Little Sass)
Is making white chocolate at home gonna change your life? Eh, maybe not. But it’ll make your desserts 1000x better, it’s super fun, and honestly? It feels a little luxurious.
It’s also weirdly satisfying to know you made something that people usually just buy without thinking. And when your friends take a bite and ask where you got it?
You can just smirk and say, “Oh, I made it.”
Power move.