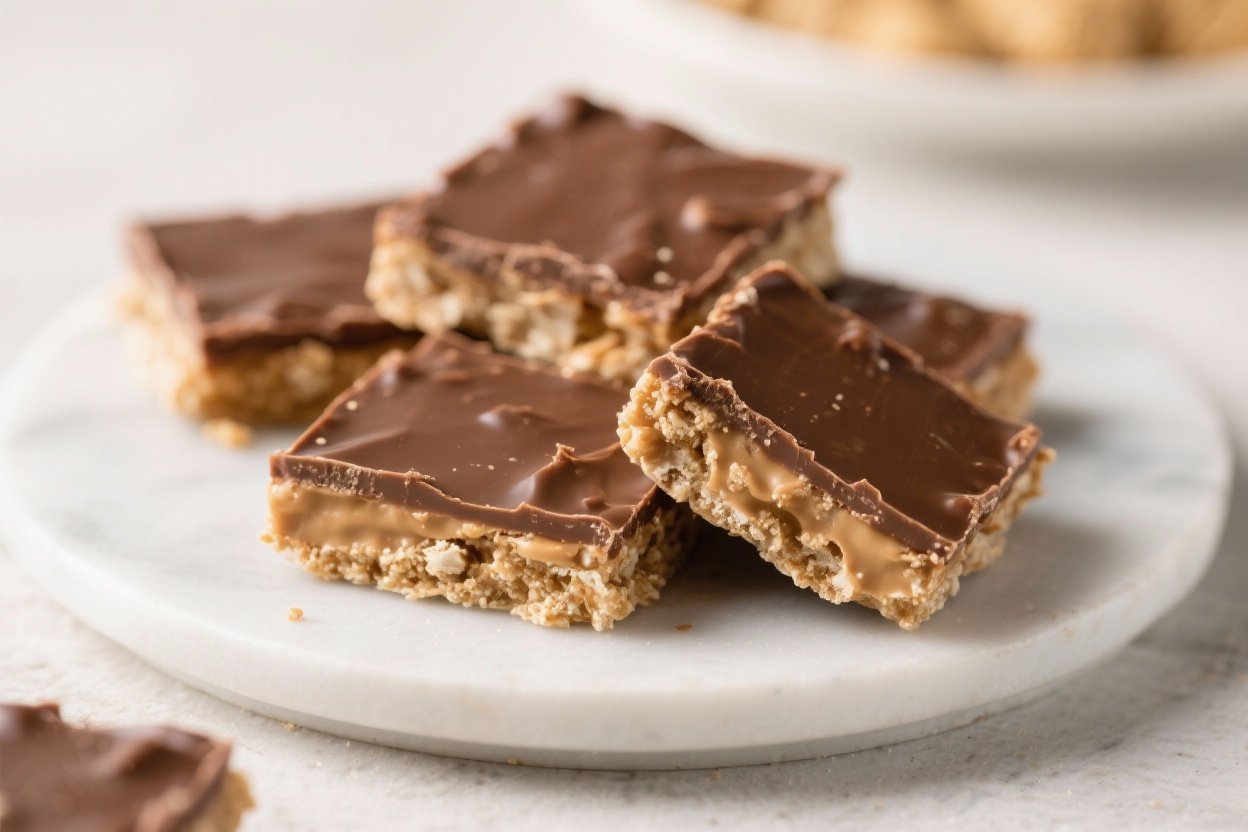
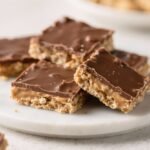
No-Bake Peanut Butter Chocolate Bars – Easy, Creamy, and Rich
These bars are the kind of treat you can whip up when you want something sweet without turning on the oven. They’re rich, creamy, and layered with that classic peanut butter and chocolate combo. The texture is soft but holds together well, and they slice beautifully once chilled.
If you love the flavor of a peanut butter cup but want a simpler, homemade version, this is it.
No-Bake Peanut Butter Chocolate Bars - Easy, Creamy, and Rich
Ingredients
- 1 cup (225 g) unsalted butter, melted
- 1 cup (250 g) creamy peanut butter (not natural, for best texture)
- 2 cups (240 g) powdered sugar, sifted
- 2 cups (200 g) graham cracker crumbs (about 14 full sheets), finely crushed
- 1 teaspoon vanilla extract (optional, but nice)
- 1/2 teaspoon fine salt (skip if your butter is salted)
- 2 cups (340 g) semi-sweet chocolate chips
- 2 tablespoons creamy peanut butter (for the topping)
Instructions
- Prepare the pan. Line a 9x13-inch baking pan with parchment, leaving overhang for easy lifting. Lightly grease the sides.
- Make the peanut butter base. In a large bowl, stir together melted butter, 1 cup peanut butter, powdered sugar, graham cracker crumbs, vanilla, and salt. Mix until fully combined and no dry bits remain.
- Press into the pan. Pour the mixture into the prepared pan.Press firmly into an even layer using a spatula or the bottom of a measuring cup.
- Make the chocolate topping. In a microwave-safe bowl, heat chocolate chips and 2 tablespoons peanut butter in 20–30 second bursts, stirring between each, until smooth. You can also melt over a double boiler.
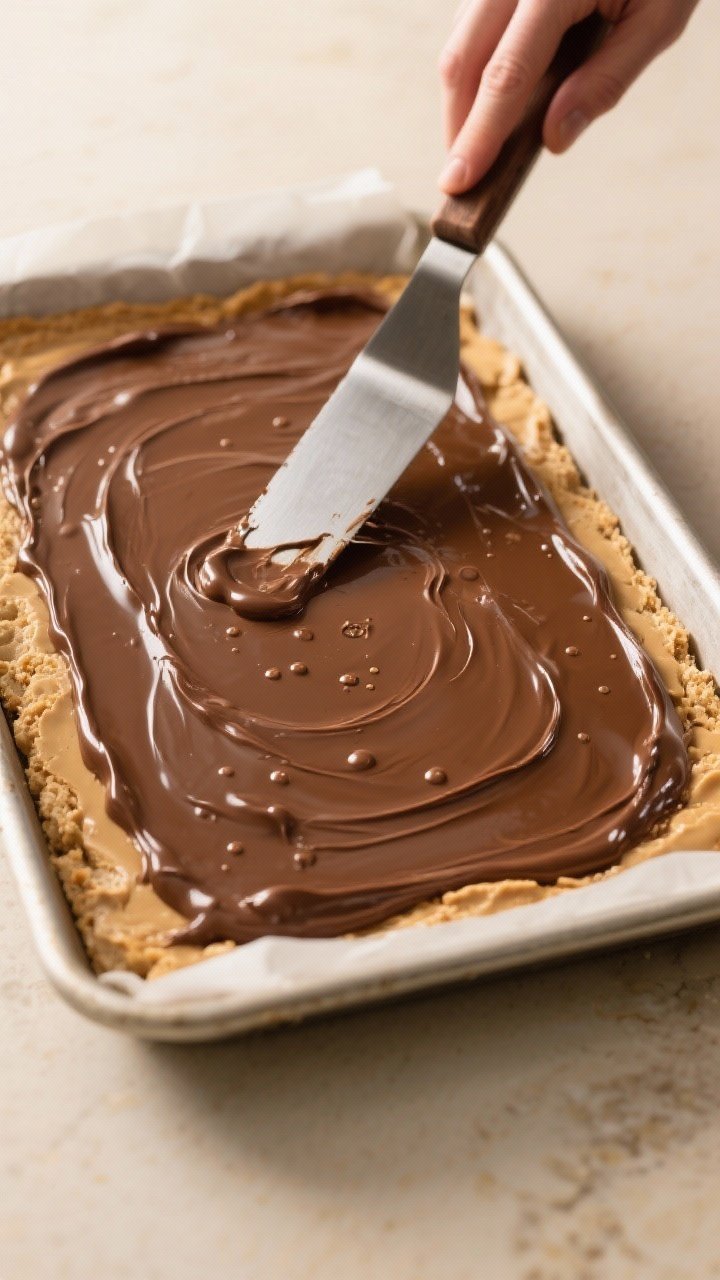
- Spread the chocolate. Pour melted chocolate over the base and smooth it out to the edges. Tap the pan gently to pop air bubbles.
- Chill. Refrigerate for 2–3 hours, or until the chocolate is set and the bars are firm.
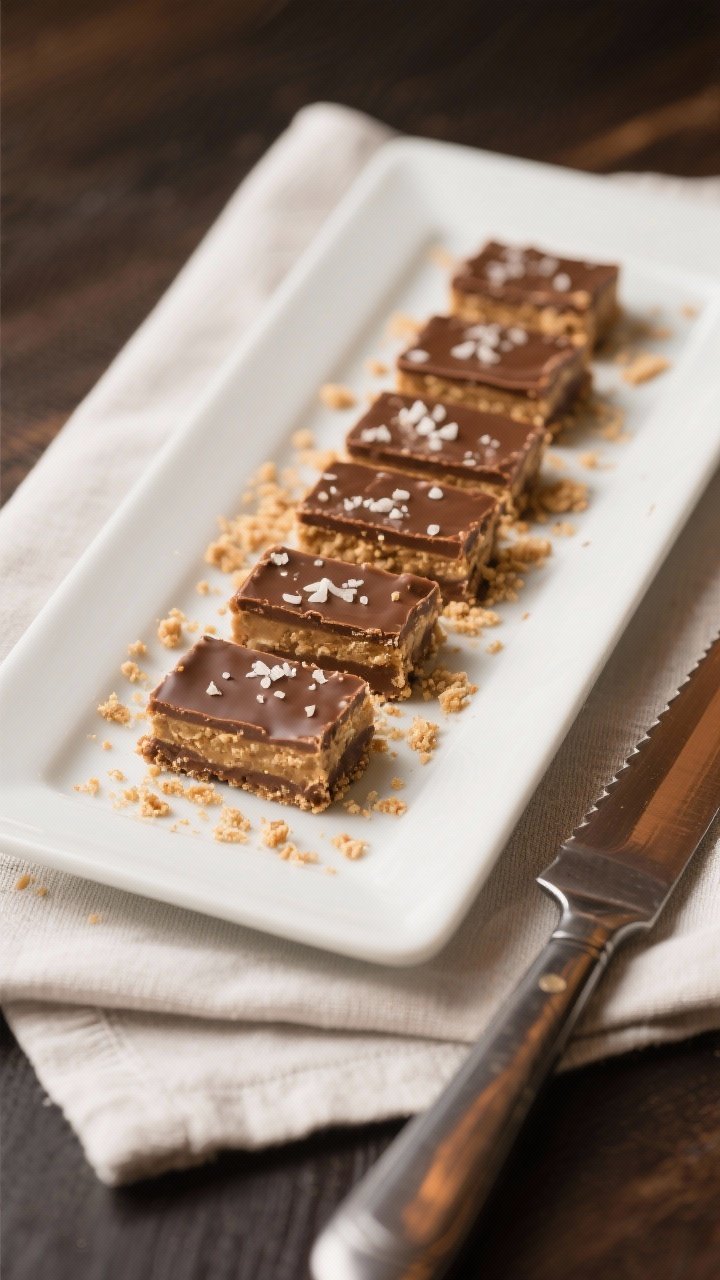
- Slice cleanly. Lift the slab out using the parchment.Warm a sharp knife under hot water, dry it, then slice into bars. Wipe and re-warm the knife as needed.
Why This Recipe Works
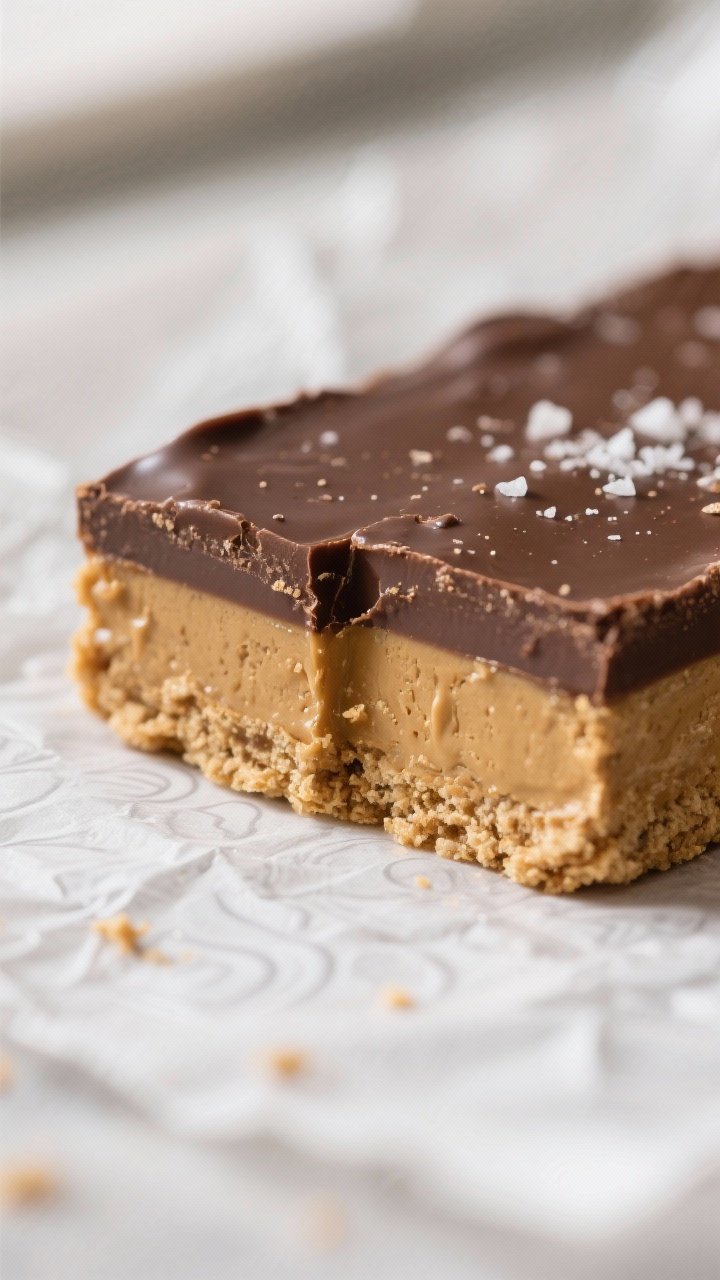
This recipe leans on pantry staples and smart ratios to keep things simple and reliable. Butter and peanut butter create a smooth, cohesive base that sets firmly in the fridge. Crushed graham crackers add structure and a pleasant, slightly sandy texture that balances the richness.
The chocolate topping is just melted chocolate chips with a touch of peanut butter for shine and a clean slice.
What You’ll Need
- 1 cup (225 g) unsalted butter, melted
- 1 cup (250 g) creamy peanut butter (not natural, for best texture)
- 2 cups (240 g) powdered sugar, sifted
- 2 cups (200 g) graham cracker crumbs (about 14 full sheets), finely crushed
- 1 teaspoon vanilla extract (optional, but nice)
- 1/2 teaspoon fine salt (skip if your butter is salted)
- 2 cups (340 g) semi-sweet chocolate chips
- 2 tablespoons creamy peanut butter (for the topping)
Instructions
- Prepare the pan. Line a 9×13-inch baking pan with parchment, leaving overhang for easy lifting. Lightly grease the sides.
- Make the peanut butter base. In a large bowl, stir together melted butter, 1 cup peanut butter, powdered sugar, graham cracker crumbs, vanilla, and salt. Mix until fully combined and no dry bits remain.
- Press into the pan. Pour the mixture into the prepared pan.
Press firmly into an even layer using a spatula or the bottom of a measuring cup.
- Make the chocolate topping. In a microwave-safe bowl, heat chocolate chips and 2 tablespoons peanut butter in 20–30 second bursts, stirring between each, until smooth. You can also melt over a double boiler.
- Spread the chocolate. Pour melted chocolate over the base and smooth it out to the edges. Tap the pan gently to pop air bubbles.
- Chill. Refrigerate for 2–3 hours, or until the chocolate is set and the bars are firm.
- Slice cleanly. Lift the slab out using the parchment.
Warm a sharp knife under hot water, dry it, then slice into bars. Wipe and re-warm the knife as needed.
How to Store
Refrigerator: Store in an airtight container for up to 1 week. Separate layers with parchment to prevent sticking.
Freezer: Freeze for up to 2 months.
Wrap tightly and thaw in the fridge for the best texture. You can enjoy them slightly chilled or at room temperature.
Benefits of This Recipe
- No oven needed. Perfect for warm days, dorms, or quick dessert cravings.
- Familiar flavors. Tastes like a homemade peanut butter cup, with a satisfying bite.
- Make-ahead friendly. The bars get better after a day in the fridge.
- Customizable. Easy to tweak for sweetness, saltiness, or texture.
What Not to Do
- Don’t use natural peanut butter that separates. It can make the bars greasy or crumbly.
- Don’t skip chilling. Cutting too soon leads to smudged chocolate and messy slices.
- Don’t overheat the chocolate. It can seize or become grainy.
Short bursts and gentle stirring are key.
- Don’t pack the crumbs too loosely. Press firmly so the base holds together.
Variations You Can Try
- Crunchy twist: Swap in crunchy peanut butter or fold in 1/2 cup chopped roasted peanuts.
- Sea salt finish: Sprinkle flaky sea salt over the melted chocolate before chilling.
- Espresso kick: Stir 1 teaspoon instant espresso powder into the melted chocolate.
- Honey-sweetened: Replace 1/4 cup powdered sugar with 3 tablespoons honey for a deeper flavor.
- Gluten-free: Use gluten-free graham crackers or fine gluten-free cookie crumbs.
- Dark chocolate lovers: Use 60–70% dark chocolate chips for a less sweet topping.
- Swirl effect: Reserve 2 tablespoons of the base, dollop on top of the chocolate, and swirl with a skewer.
FAQ
Can I make these dairy-free?
Yes. Use a dairy-free butter alternative that’s firm (not a soft tub) and dairy-free chocolate chips. Check labels to ensure they melt well and contain cocoa butter or a good alternative.
What if I only have natural peanut butter?
Stir it very well to reincorporate the oil, then add a few extra tablespoons of graham crumbs or powdered sugar if the base seems loose.
The texture may be softer but still tasty.
How do I prevent the chocolate layer from cracking?
Let the bars sit at room temperature for 5–10 minutes before slicing, and use a warm knife. Adding a bit of peanut butter to the chocolate also makes it less brittle.
Can I halve the recipe?
Absolutely. Use an 8×8-inch pan and reduce all ingredients by half.
Chill time may be slightly shorter.
Why are my bars oily?
This can happen with natural peanut butter or if the butter was very hot when mixed. Let the butter cool slightly before combining, and make sure the crumbs and sugar are fully incorporated.
In Conclusion
These No-Bake Peanut Butter Chocolate Bars deliver big flavor with minimal effort. They’re dependable, quick to assemble, and always a hit at parties or weeknight dinners.
Keep a batch in the fridge for an easy dessert or a sweet little snack. Simple ingredients, classic taste, and no oven required.