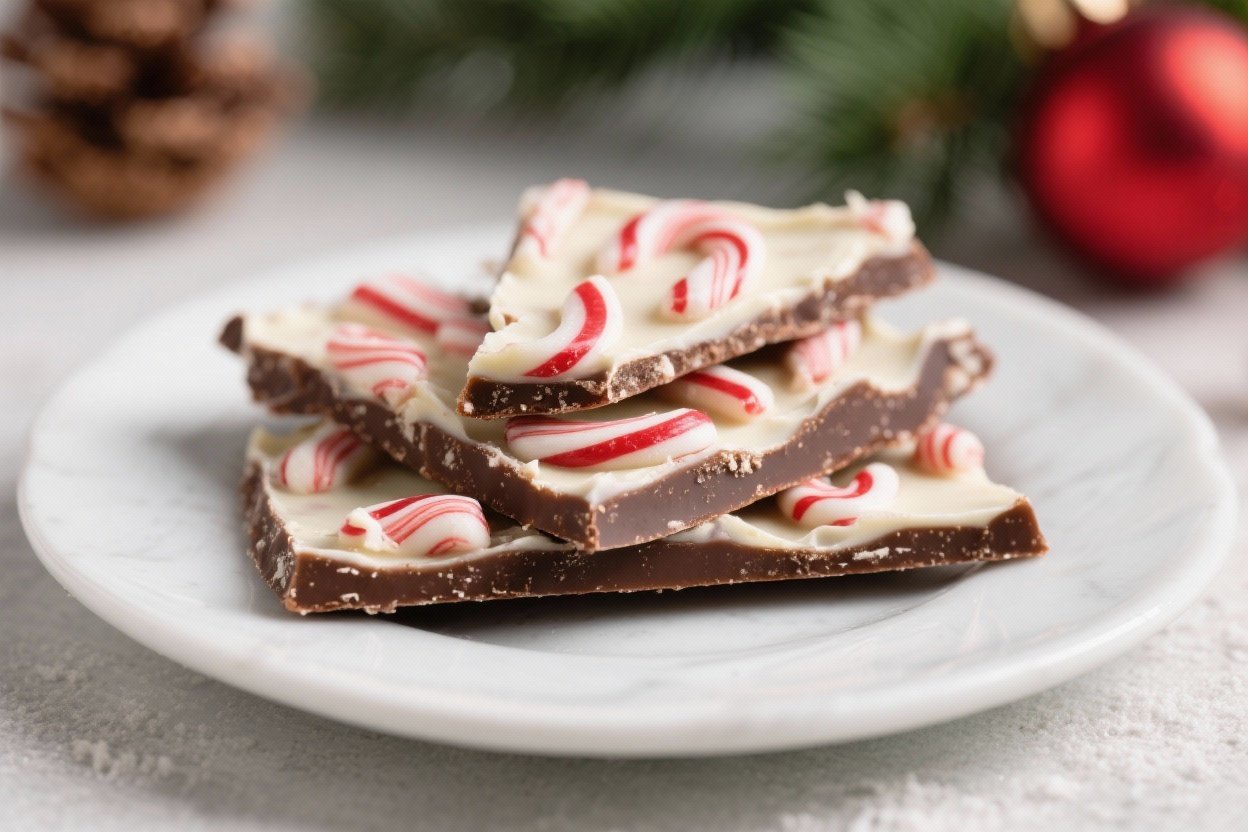
Peppermint Bark Recipe (Holiday Favorite!) – A Simple, Festive Treat
Nothing says “holidays” like a tray of peppermint bark. It’s simple, pretty, and always the first thing to disappear at parties. You only need a few ingredients and about 20 minutes of hands-on time.
Make a batch for gifting, snacking, or topping hot cocoa. This is the kind of recipe that makes your kitchen smell like the season and looks like you worked way harder than you did.

Peppermint Bark Recipe (Holiday Favorite!) - A Simple, Festive Treat
Ingredients
- Dark or semi-sweet chocolate (12 oz), chopped or in chips
- White chocolate (12 oz), chopped or in chips
- Peppermint extract (1/2 teaspoon), optional but recommended
- Candy canes or peppermint candies (5–6 regular canes), crushed
- Neutral oil or cocoa butter (1–2 teaspoons), optional for smoother melting
- Flaky sea salt, optional for finishing
- Parchment paper and a rimmed baking sheet (9x13 or similar)
Instructions
- Prep the pan: Line a rimmed baking sheet with parchment, leaving some overhang for easy lifting. Clear space in your fridge or a cool spot for setting.
- Melt the dark chocolate: Use a microwave in 20–30 second bursts, stirring between each, until smooth.Or melt gently over a double boiler. Stir in 1/4 teaspoon peppermint extract if using.
- Spread the base layer: Pour the dark chocolate onto the parchment and spread into an even layer, about 1/4 inch thick. Tap the pan to release air bubbles.
- Set slightly: Chill for 10 minutes, just until the surface is beginning to firm but not fully hard.This helps the layers bond without blending.
- Melt the white chocolate: Warm gently using the same method. Stir in 1/4 teaspoon peppermint extract if using. Avoid overheating—white chocolate scorches easily.
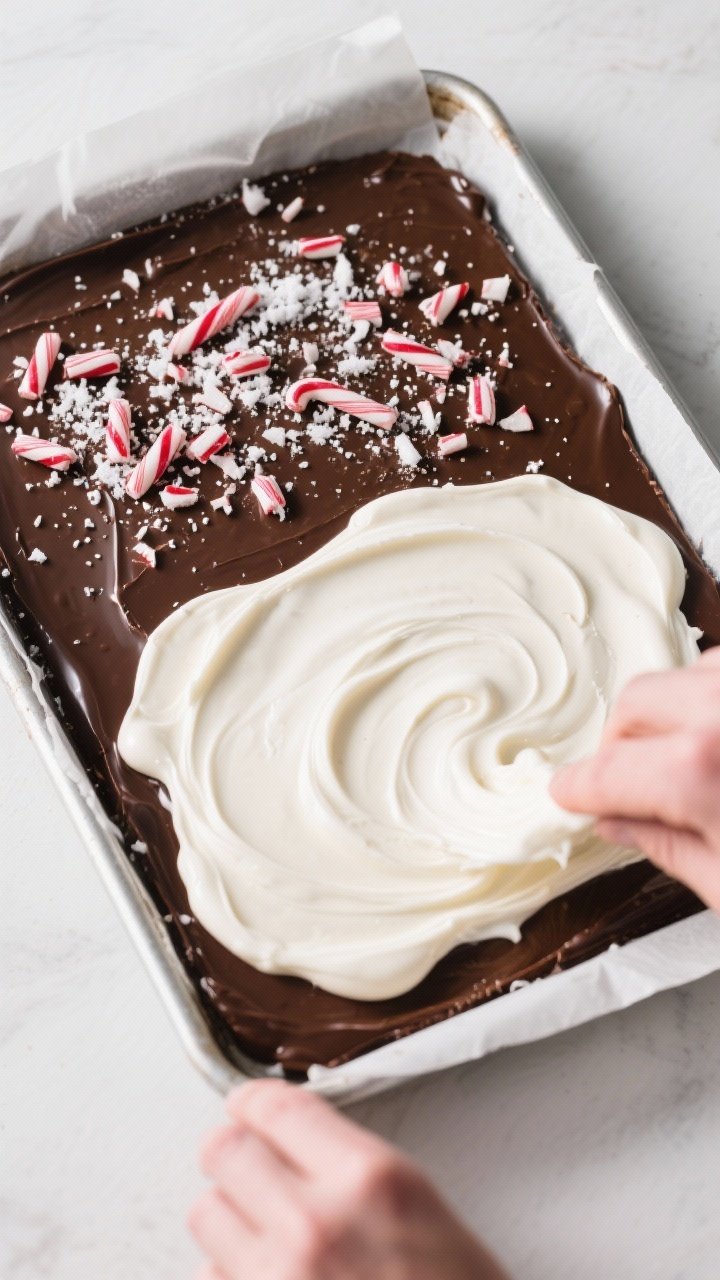
- Add the top layer: Pour the white chocolate over the semi-set dark chocolate.Spread gently to the edges without digging into the layer below.
- Add the crunch: Immediately sprinkle crushed candy canes evenly on top. Press very lightly so they adhere. Add a pinch of flaky sea salt if you like a sweet-salty finish.
- Set completely: Refrigerate 30–45 minutes, or let it set at cool room temperature until firm.
- Break into pieces: Lift the bark from the pan using the parchment.Break into irregular shards with your hands or cut with a warm knife for cleaner edges.
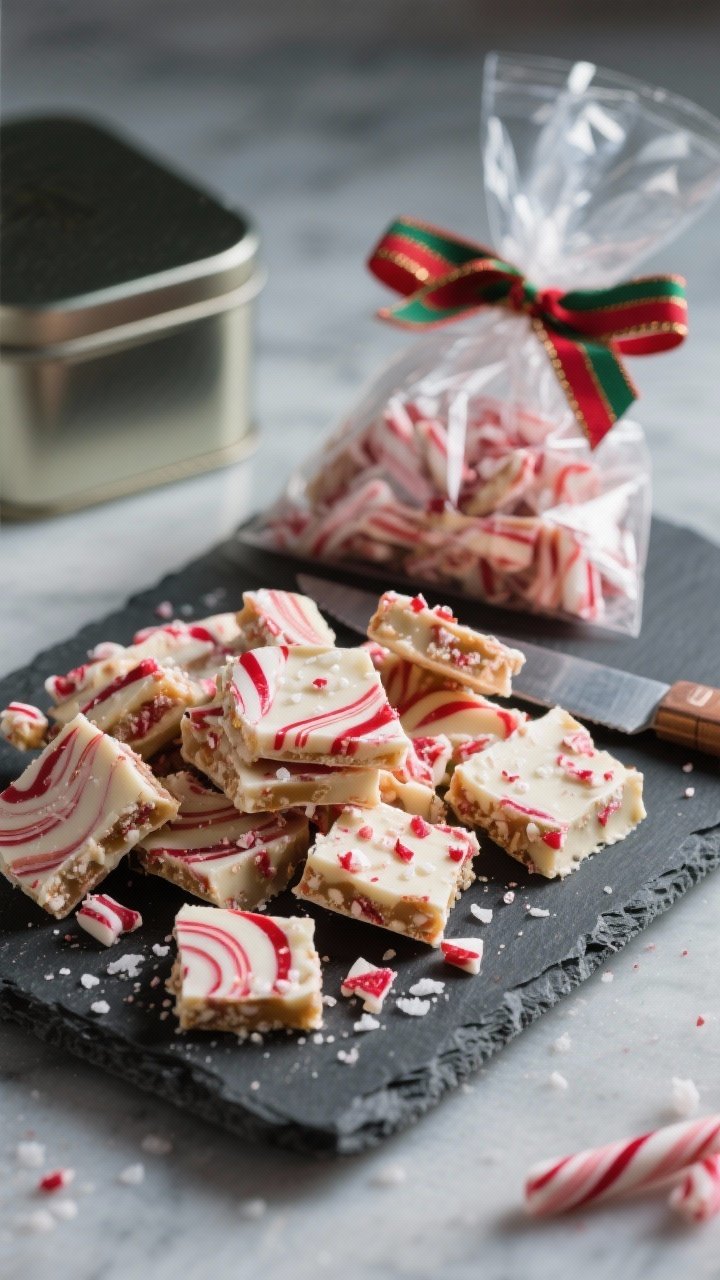
- Serve or gift: Plate, pack into tins, or bag in cellophane with a ribbon. Keep cool to prevent melting.
What Makes This Special
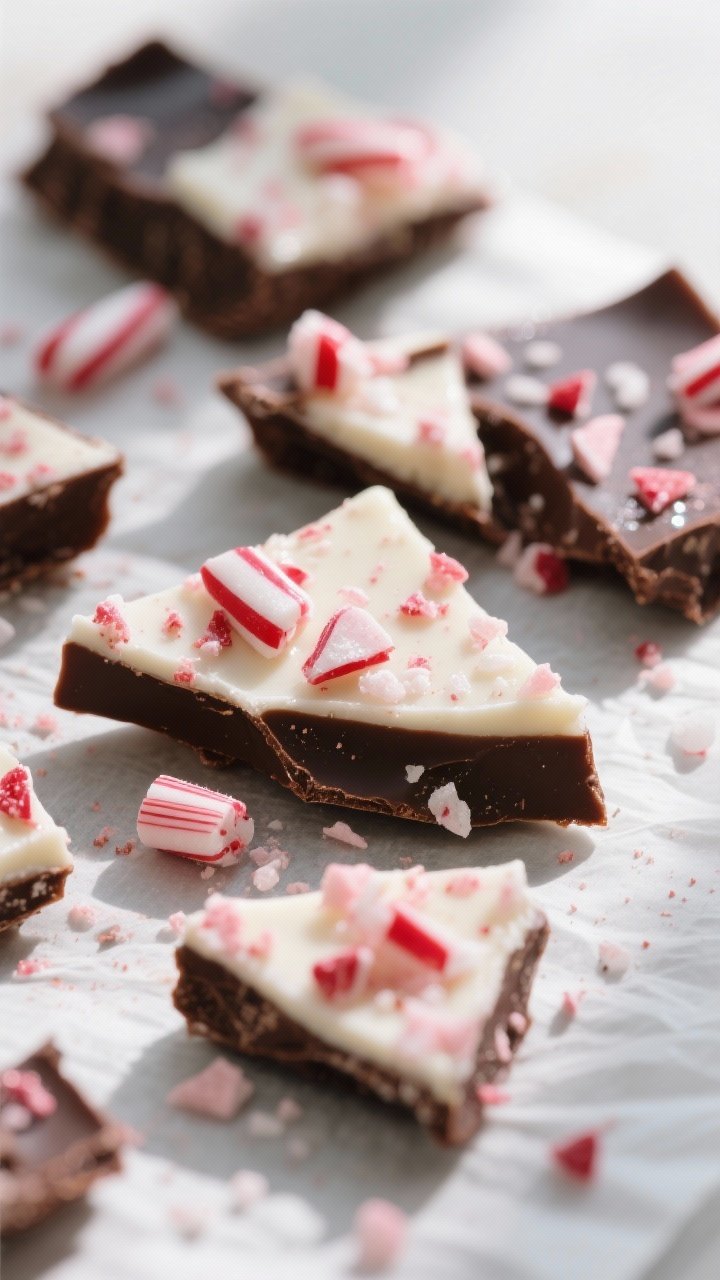
This peppermint bark layers rich dark chocolate with creamy white chocolate and a crisp peppermint crunch. The contrast of textures is exactly what makes each bite so satisfying.
It’s also a no-bake recipe, so it’s easy to pull together with kids or on a busy weeknight. Plus, it scales beautifully—make a small pan for the family or double it for gifting.
Shopping List
- Dark or semi-sweet chocolate (12 oz), chopped or in chips
- White chocolate (12 oz), chopped or in chips
- Peppermint extract (1/2 teaspoon), optional but recommended
- Candy canes or peppermint candies (5–6 regular canes), crushed
- Neutral oil or cocoa butter (1–2 teaspoons), optional for smoother melting
- Flaky sea salt, optional for finishing
- Parchment paper and a rimmed baking sheet (9×13 or similar)
Instructions
- Prep the pan: Line a rimmed baking sheet with parchment, leaving some overhang for easy lifting. Clear space in your fridge or a cool spot for setting.
- Melt the dark chocolate: Use a microwave in 20–30 second bursts, stirring between each, until smooth.
Or melt gently over a double boiler. Stir in 1/4 teaspoon peppermint extract if using.
- Spread the base layer: Pour the dark chocolate onto the parchment and spread into an even layer, about 1/4 inch thick. Tap the pan to release air bubbles.
- Set slightly: Chill for 10 minutes, just until the surface is beginning to firm but not fully hard.
This helps the layers bond without blending.
- Melt the white chocolate: Warm gently using the same method. Stir in 1/4 teaspoon peppermint extract if using. Avoid overheating—white chocolate scorches easily.
- Add the top layer: Pour the white chocolate over the semi-set dark chocolate.
Spread gently to the edges without digging into the layer below.
- Add the crunch: Immediately sprinkle crushed candy canes evenly on top. Press very lightly so they adhere. Add a pinch of flaky sea salt if you like a sweet-salty finish.
- Set completely: Refrigerate 30–45 minutes, or let it set at cool room temperature until firm.
- Break into pieces: Lift the bark from the pan using the parchment.
Break into irregular shards with your hands or cut with a warm knife for cleaner edges.
- Serve or gift: Plate, pack into tins, or bag in cellophane with a ribbon. Keep cool to prevent melting.
How to Store
- Room temperature: Store in an airtight container in a cool, dry spot for 1–2 weeks.
- Refrigerator: Extends freshness to 3 weeks. Keep sealed to avoid moisture and fridge smells.
- Freezer: Freeze up to 2–3 months.
Separate layers with parchment to prevent sticking. Thaw in the container to avoid condensation.
Health Benefits
- Dark chocolate offers antioxidants like flavonoids that may support heart health in moderation.
- Peppermint can be soothing for digestion and adds big flavor without extra fat.
- Built-in portion control: The bark breaks into small pieces, making it easier to enjoy a little sweetness without overdoing it.
Pitfalls to Watch Out For
- Overheating chocolate: If it seizes or looks grainy, you heated it too fast. Melt slowly and stir often.
- Layers separating: Pour the white chocolate while the dark layer is just tacky—not fully hard—so they bond.
- Moisture issues: Water makes chocolate seize.
Keep bowls and tools completely dry, and avoid humid environments.
- Too much extract: Peppermint extract is potent. Start small; you can’t dial it back once mixed.
- Artificial white chips: Use real white chocolate with cocoa butter for smooth melting and better flavor.
Variations You Can Try
- Swirl effect: Drop spoonfuls of dark and white chocolate and swirl with a skewer for a marbled look.
- Milk chocolate base: Swap dark for milk if you prefer sweeter bark.
- Nutty crunch: Add toasted almonds or pistachios under the peppermint layer.
- Gluten-free cookie crumble: Sprinkle crushed gluten-free chocolate sandwich cookies for a cookies-and-cream vibe.
- Extra minty: Mix crushed peppermint into the white chocolate before spreading for more peppermint in every bite.
- Dairy-free: Use high-quality dairy-free dark chocolate and vegan white chocolate alternatives.
FAQ
Do I need to temper the chocolate?
Tempering gives a glossy finish and a crisp snap, but it’s not required for a delicious bark. If you want extra shine at room temperature, tempering is helpful, especially for gifting.
Otherwise, store the bark chilled to keep it snappy.
Can I use peppermint oil instead of extract?
Yes, but use less—peppermint oil is stronger. Start with 1–2 drops, taste, and add carefully.
Why did my white chocolate clump?
It likely overheated or came into contact with water. Melt low and slow, and make sure your bowl and spatula are completely dry.
How fine should I crush the candy canes?
A mix of small bits and fine dust works best.
The dust melts slightly into the white chocolate for flavor, and the bits give you that satisfying crunch.
Can I make this ahead for gifts?
Absolutely. Make it up to two weeks in advance and store in an airtight container in a cool place. For best texture, add a food-safe desiccant packet if packaging in tins.
In Conclusion
This Peppermint Bark Recipe is festive, fast, and always a crowd-pleaser.
With just a few ingredients and simple steps, you get a gorgeous treat that tastes like the holidays. Keep a batch on hand for last-minute gifts or cozy nights in. It’s the kind of classic that never goes out of style.