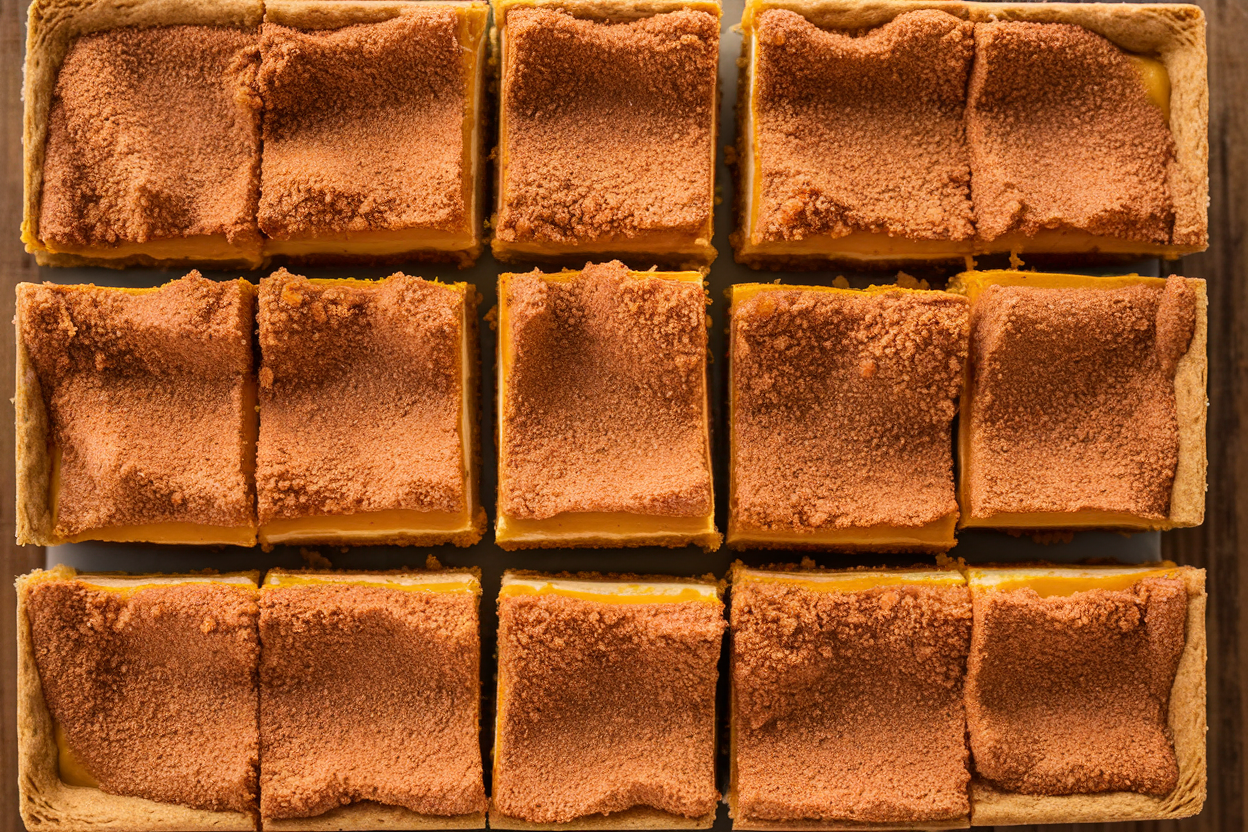
Pumpkin Cheesecake Bars That Ruin Regular Pie Forever (In the Best Way)
Skip the sad store-bought dessert that tastes like regret. These Pumpkin Cheesecake Bars are creamy, spiced, and unapologetically extra—with a buttery crust that snaps and a swirl that looks like you tried harder than you did. You get the comfort of pumpkin pie with the luxury of cheesecake in neat, party-ready squares.
They slice clean, travel well, and taste like fall just got promoted. Make them once and people will “accidentally” invite you to every holiday gathering.
What Makes This Recipe So Good
- Two layers, zero struggle: A crisp graham crust supporting a lush, pumpkin-spiced cheesecake. It’s structure and decadence in one bite.
- Perfectly balanced sweetness: Cream cheese and pumpkin keep it silky, not cloying.
Your taste buds won’t tap out.
- Big batch, small effort: Baked in a 9×13 pan, these feed a crowd without needing a springform or a prayer.
- No water bath drama: Low and slow heat, plus a quick chill, equals creamy bars without cracks.
- Make-ahead friendly: They taste even better the next day. Dessert that does the work while you sleep? Yes, please.
Ingredients
- For the crust:
- 2 cups graham cracker crumbs (about 14 sheets)
- 1/4 cup granulated sugar
- 1/2 teaspoon ground cinnamon
- 1/2 cup unsalted butter, melted
- For the cheesecake filling:
- 24 ounces cream cheese, softened (3 blocks)
- 3/4 cup granulated sugar
- 1/2 cup light brown sugar, packed
- 3 large eggs, room temperature
- 2 teaspoons vanilla extract
- 1/2 cup sour cream
- For the pumpkin layer:
- 1 1/4 cups pumpkin purée (not pumpkin pie mix)
- 1 teaspoon ground cinnamon
- 1/2 teaspoon ground ginger
- 1/4 teaspoon ground nutmeg
- 1/8 teaspoon ground cloves
- 1/4 teaspoon fine sea salt
- Optional garnish: Whipped cream, caramel drizzle, crushed gingersnaps
Step-by-Step Instructions
- Prep the pan: Heat oven to 325°F (163°C).
Line a 9×13 metal baking pan with parchment, leaving overhang for easy lifting.
- Make the crust: Stir graham crumbs, sugar, cinnamon, and melted butter until the texture resembles wet sand. Press firmly into the pan. Bake 10 minutes; cool slightly.
- Beat the base: In a large bowl, beat cream cheese and both sugars until smooth, about 2 minutes.
Scrape the bowl—don’t skip.
- Add the good stuff: Beat in eggs one at a time. Mix in vanilla and sour cream until just combined. Overmixing is how cracks happen—don’t be that person.
- Split and spice: Pour about 2 1/2 cups of the plain cheesecake batter into a separate bowl.
To the remaining batter, whisk in pumpkin purée, spices, and salt.
- Layer it: Pour the pumpkin batter over the crust. Dollop the plain batter on top and gently swirl with a knife for a marbled look. Go easy—three or four passes.
- Bake low and slow: Bake 35–40 minutes until edges are set and the center jiggles like Jell-O, not waves.
If it’s rigid, you overdid it.
- Chill like a pro: Cool in the pan to room temp, then refrigerate at least 4 hours (overnight is elite).
- Slice and serve: Lift with parchment, cut into bars with a hot, clean knife, and garnish if you’re feeling flashy.
Keeping It Fresh
- Fridge: Store covered for up to 5 days. The flavors actually improve by day two—FYI.
- Freezer: Wrap individual bars tightly in plastic and foil; freeze up to 2 months. Thaw in the fridge overnight.
- No soggy bottoms: Keep toppings off until serving.
Whipped cream waits; texture doesn’t.
Why This is Good for You
- Pumpkin power: Rich in vitamin A and fiber, pumpkin adds nutrients without heavy calories.
- Built-in portion control: Bars beat slices—easier to serve, easier to stop at one (in theory).
- Satiating fats: Cream cheese and sour cream keep you satisfied, cutting the snack-an-hour-later trap.
What Not to Do
- Don’t use pumpkin pie filling: It’s pre-sweetened and spiced; your bars will be over-the-top sweet and weirdly gummy.
- Don’t skip room temperature dairy: Cold cream cheese equals lumps that won’t blend out.
- Don’t overbake: A little jiggle is your friend. Dry cheesecake is not a personality.
- Don’t swirl aggressively: You’re marbling, not mixing paint. Gentle is the move.
Alternatives
- Crust swap: Use crushed gingersnaps or speculoos cookies for extra spice.
Reduce added sugar in the crust by half.
- Lighter approach: Sub half the cream cheese with Neufchâtel and use Greek yogurt instead of sour cream. Texture stays creamy, calories drop.
- Gluten-free: Gluten-free graham crumbs or almond flour crust (2 cups almond flour, 1/4 cup sugar, 1/2 cup butter).
- Dairy-free: Use vegan cream cheese, coconut yogurt, and plant butter; expect a slightly softer set but still delish, IMO.
- Spice twist: Add cardamom or espresso powder for a café-vibes upgrade.
FAQ
Can I make these ahead?
Yes. They’re best after chilling overnight, so make them 24 hours before serving for peak flavor and clean slices.
How do I know when they’re done?
The edges should be set and the center should jiggle slightly when you shake the pan.
If it’s sloshing, keep baking; if it’s firm, you’ve gone too far.
Can I use a different pan size?
An 8×8 will make thicker bars; bake 10–15 minutes longer. A quarter sheet pan makes thinner bars; reduce time slightly and keep an eye on the jiggle.
What’s the best way to slice cleanly?
Use a long, sharp knife warmed under hot water and wiped dry between cuts. It’s fussy, but the edges look bakery-level.
Do I need a water bath?
Nope.
The lower oven temp and bar format mean less cracking risk. Chill properly and you’re golden.
Final Thoughts
These Pumpkin Cheesecake Bars punch way above their effort level—crisp crust, creamy middle, cozy spice, and slick presentation. They’re the dessert equivalent of wearing a blazer with sneakers: casual but oddly impressive.
Make them once and they’ll become your cold-weather signature. Fair warning: people will ask for the recipe, and yes, you should gatekeep… or not. Your call.