Stop Baking. Start Snacking: No-Bake Chocolate Peanut Butter Bars That Vanish in Minutes
You want a dessert that tastes like a candy bar but takes less time than brewing coffee? Here it is.
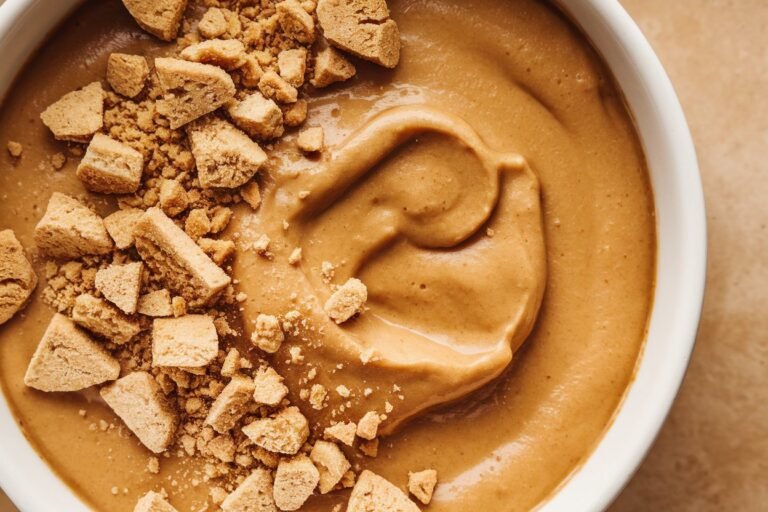
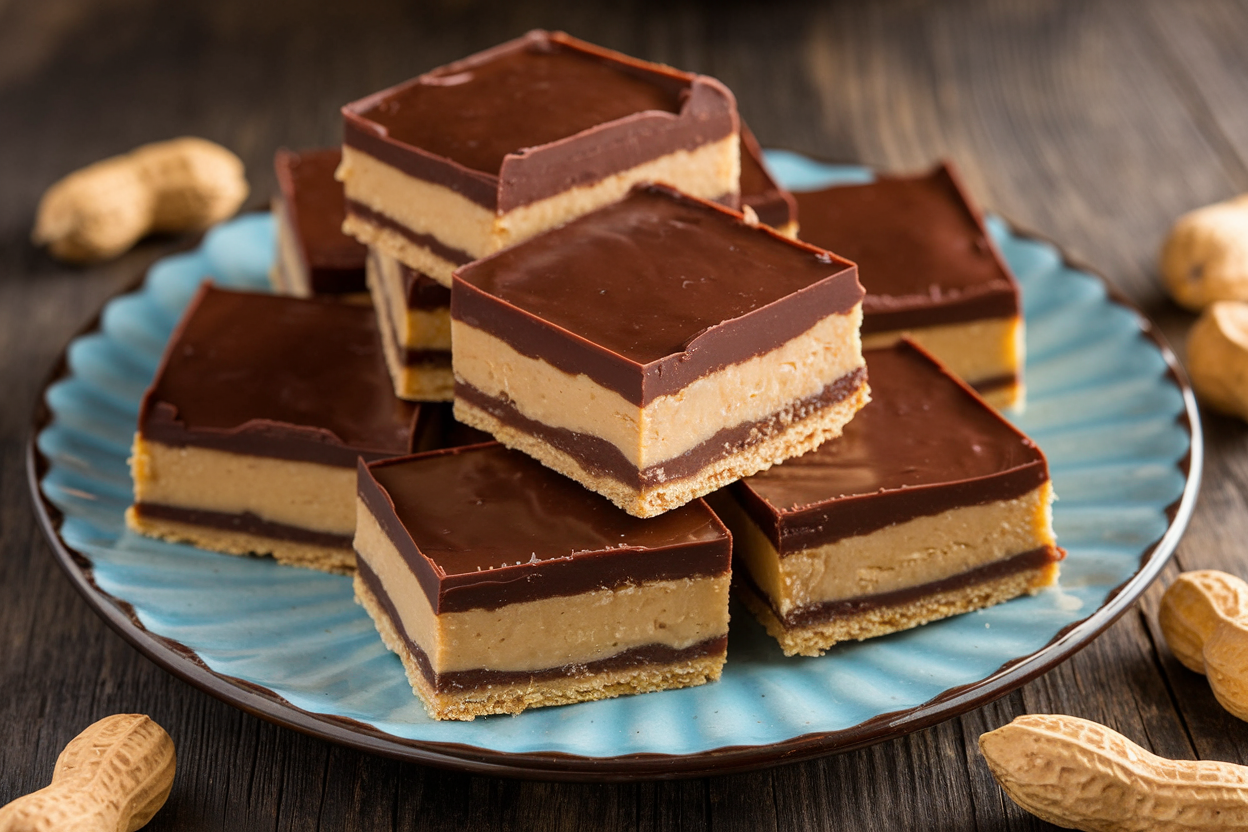
These No-Bake Chocolate Peanut Butter Bars are creamy, crunchy, and ridiculously craveable—no oven, no drama, no “wait-an-hour-to-cool” nonsense. Five everyday ingredients, ten minutes of effort, and a fridge does the rest. Make a pan “for the week” and watch it mysteriously disappear by Tuesday.
Coincidence? Sure.
Why This Recipe Works
High flavor, low friction: Peanut butter and chocolate are a cheat code—sweet, salty, and rich with zero culinary gymnastics. The graham crumbs add structure and keep the bars from turning into fudge soup.
Perfect texture balance: The base is soft but holds together, while the chocolate top snaps just enough for that candy-bar bite.
A pinch of salt makes everything taste louder (in the best way).
No baking, no guesswork: Setting in the fridge eliminates doneness anxiety. If you can stir, you can win.
What Goes Into This Recipe – Ingredients
- 1 cup (225 g) unsalted butter, melted
- 1 cup (240 g) creamy peanut butter (no-stir style works best)
- 2 cups (240 g) powdered sugar, sifted if lumpy
- 2 cups (200 g) graham cracker crumbs (or digestive biscuit crumbs)
- 1/2 teaspoon fine sea salt (skip if your peanut butter is very salty)
- 1 1/2 cups (270 g) semisweet chocolate chips
- 2 tablespoons peanut butter (for the chocolate layer)
- Optional toppings: flaky salt, chopped roasted peanuts, mini chocolate chips
Step-by-Step Instructions
- Prep the pan: Line a 9×13-inch (23×33 cm) pan with parchment, leaving overhang for easy lifting. This is your insurance policy.
- Mix the base: In a large bowl, whisk melted butter and peanut butter until smooth.
Stir in powdered sugar, graham crumbs, and salt. The mixture should be thick, like cookie dough.
- Press it down: Transfer base to the pan. Press firmly into an even layer using the back of a spoon or a flat-bottomed glass.
Clean edges = pro vibes.
- Make the topping: Microwave chocolate chips and 2 tbsp peanut butter in 20–30 second bursts, stirring between each, until silky. Or melt over a double boiler if you’re fancy.
- Pour and smooth: Spread the chocolate over the base. Tap the pan lightly to level and pop bubbles.
- Optional flair: Sprinkle flaky salt or chopped peanuts on top while the chocolate is still warm.
- Chill: Refrigerate for 1–2 hours until the topping is set and sliceable.
If you’re impatient, 30 minutes in the freezer works, but don’t forget it.
- Slice smart: For clean cuts, score the chocolate lightly after 15–20 minutes of chilling, then finish slicing once fully set. Wipe the knife between cuts.
Preservation Guide
- Fridge: Store bars in an airtight container for up to 1 week. Layer with parchment to prevent sticking.
- Freezer: Freeze up to 2 months.
Thaw 10–15 minutes at room temp before serving for the ideal texture.
- Room temp: Safe for a few hours at a party, but the chocolate may soften. Warm kitchen = bendy bars. FYI.
Benefits of This Recipe
- Time-efficient: 10 minutes of hands-on work.
Zero oven babysitting.
- Budget-friendly: Pantry staples doing A-list things.
- Customizable: Adjust sweetness, texture, and toppings without risking failure.
- Crowd-pleaser: Kids, adults, picky eaters—everyone signs up.
Pitfalls to Watch Out For
- Runny base: Natural peanut butter with oil separation can make the base loose. If using it, add extra graham crumbs until thick.
- Crumbly bars: Too many crumbs or too little peanut butter = cracking. The mixture should press together easily.
- Soft topping: Don’t skimp on chill time.
Warm kitchens need closer to 2 hours.
- Overheating chocolate: Burnt chocolate turns gritty. Short bursts, stir often. Trust the process.
Recipe Variations
- Crunchy upgrade: Use crunchy peanut butter or fold in 1/2 cup chopped roasted peanuts.
- Health-ish twist: Swap half the powdered sugar for fine almond flour and use dark chocolate (70%).
It’s still dessert—just less sugar-forward.
- Cookie butter swap: Replace peanut butter with Biscoff spread and top with white chocolate. Unreasonably good.
- Gluten-free: Use certified GF graham-style crumbs or almond flour (start with 1 1/2 cups; add to desired thickness).
- Peanut-free: Almond or sunflower seed butter works. Add an extra pinch of salt for balance.
- Mocha moment: Stir 1 teaspoon instant espresso into the melted chocolate for a grown-up edge.
FAQ
Can I cut the sugar without ruining the texture?
Yes—reduce powdered sugar by up to 25% and add more graham crumbs to keep the base firm.
Taste as you go to avoid making it too bland.
Why are my bars greasy?
Likely from oil-heavy natural peanut butter or not enough crumbs. Stir your peanut butter well and adjust crumbs until the mixture holds together without shine.
How do I keep the chocolate from cracking when I cut?
Score the top after 15–20 minutes in the fridge, then finish slicing once fully set. A warm knife (run under hot water, wiped dry) helps, too.
What pan size can I use?
A 9×13 yields classic thickness.
For thicker bars, use an 8×8 and increase chill time. For a party platter, double the recipe in a sheet pan.
Can I make these dairy-free?
Use vegan butter and dairy-free chocolate chips. The method and ratios remain the same, IMO.
My Take
These bars are the hack I pull when I want guaranteed applause with minimal effort.
The texture combo—soft, salty-sweet base and glossy chocolate snap—feels a little illegal. Keep a batch in the freezer for “emergencies” (read: Tuesdays). Honestly, the only problem is pretending they’ll last the week.
Spoiler: they won’t.