DIY Blueberry Jam: Because Store-Bought is for Quitters
You’ve got blueberries. You’ve got a spoon. And you’ve got 20 minutes to make something that’ll make your toast weep with joy.
This isn’t just jam—it’s a flex. Imagine slathering your breakfast with something you made, not something you grabbed off a shelf like a common peasant. No fancy equipment, no weird ingredients, just pure, unadulterated berry bliss.
Ready to outshine every generic jar in your fridge? Let’s go.
Why This Recipe Slaps
This blueberry jam is stupidly simple but tastes like you’ve been perfecting it for years. The secret? No pectin nonsense. Just blueberries, sugar, and a splash of lemon juice to keep things bright.
It’s thick, glossy, and packs more flavor than anything you’ll find at the store. Plus, it’s customizable—add a pinch of cinnamon, a dash of vanilla, or even a spicy kick if you’re feeling adventurous.
Ingredients You’ll Need
- 4 cups fresh blueberries (frozen works too, but fresh is elite)
- 1 cup granulated sugar (adjust to taste, but don’t skimp too much)
- 2 tbsp lemon juice (bottled is fine, but fresh lemons judge you silently)
- 1 tsp lemon zest (optional, but highly recommended)
- Pinch of salt (because even jam needs balance)
Step-by-Step Instructions
- Wash and dry the blueberries. No one wants gritty jam. If you’re using frozen, thaw them first—unless you enjoy waiting forever.
- Mash half the berries. Use a potato masher or fork.
Leave some whole for texture, unless you’re into baby food consistency.
- Combine everything in a pot. Blueberries, sugar, lemon juice, zest, and salt. Stir until the sugar starts to dissolve.
- Simmer on medium heat. Stir occasionally until it thickens (about 15–20 minutes). Pro tip: If it coats the back of a spoon, you’re golden.
- Cool slightly, then jar it. Leave some space at the top unless you enjoy sticky countertops.
How to Store Your Masterpiece
Store your jam in clean, airtight jars.
🍫 The Ultimate No-Bake Dessert Ebook 🍓
30 mouthwatering no-bake recipes you can whip up in minutes — creamy cheesecakes, fruity parfaits, chocolatey bars, and more!
- ⚡Quick & easy — no oven required
- 📖30 recipes + bonus treat
- 🍓Chocolate, fruit, nutty & refreshing flavors
- ✨Beautifully designed, instant download
It’ll last in the fridge for up to 3 weeks—if you don’t eat it all first. For longer storage, freeze it for up to 6 months. FYI, it won’t last that long.
Why This Jam is a Game-Changer
Homemade jam means no preservatives, no weird additives, and total control over sweetness.
Plus, blueberries are packed with antioxidants, so technically, this is health food. (Don’t question it.) It’s also cheaper than store-bought, and you get bragging rights. Win-win.
Common Mistakes to Avoid
- Overcooking. You’re making jam, not tar. If it’s too thick, you’ve gone too far.
- Undercooking. Runny jam is just blueberry syrup.
Not terrible, but not what we’re after.
- Using unripe berries. Tart is good, but battery-acid-level sour isn’t.
- Ignoring the lemon. It balances the sweetness. Skip it, and your jam will taste flat.
Alternatives for the Rebellious
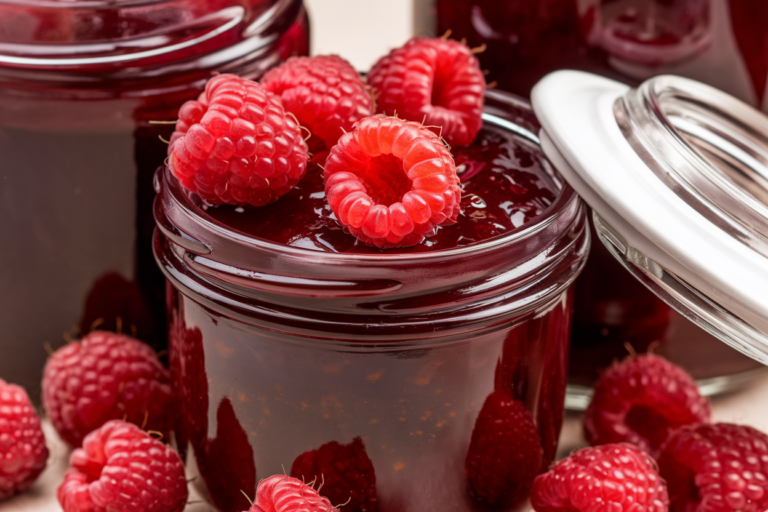
Not feeling blueberries? Swap them for raspberries, blackberries, or strawberries.
Adjust sugar based on sweetness. Want a sugar-free version? Use honey or maple syrup, but expect a different texture.
Feeling fancy? Add a splash of bourbon or a vanilla bean. You do you.
FAQs
Can I use frozen blueberries?
Absolutely.
Just thaw them first, unless you want to wait an extra 10 minutes for them to break down.
Why no pectin?
Because blueberries have natural pectin. Plus, who needs another ingredient to buy?
How do I know when it’s done?
Drag a spoon through the jam. If the path stays clear for a second, it’s ready.
Science.
Can I can this jam for shelf storage?
Yes, but you’ll need proper canning equipment and techniques. Google it, or risk botulism. IMO, fridge or freezer is easier.
Final Thoughts
This DIY blueberry jam is embarrassingly easy and ridiculously good.
It’ll make your breakfasts, desserts, and midnight snacks infinitely better. Plus, you’ll never look at store-bought jam the same way again. Now go forth and spread the berry gospel.


