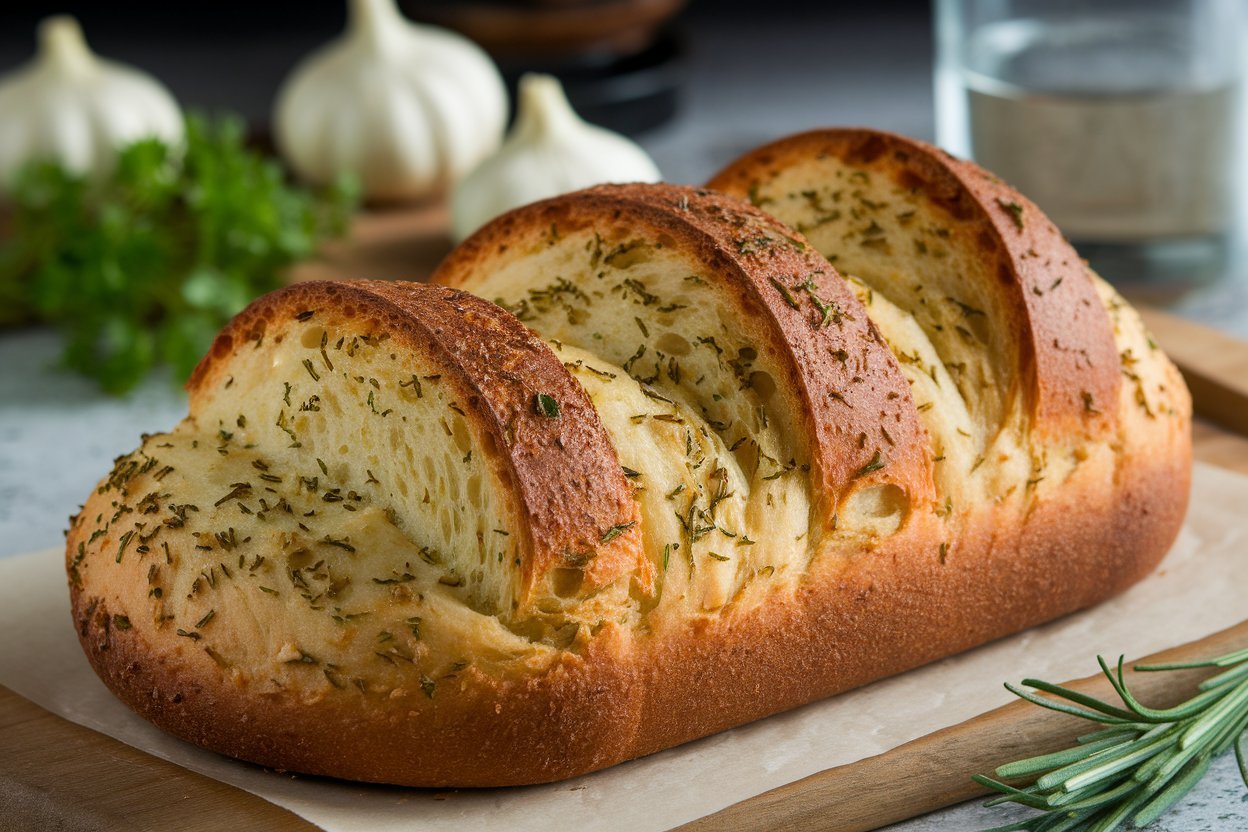
Garlic Herb Bread That’ll Make You Question Store-Bought Forever
So here’s the thing—I didn’t plan to become obsessed with garlic herb bread. It just… happened.
Because let’s be real—what’s soup without a buttery, fragrant hunk of crusty bread to drag through it like a tiny carb shovel?
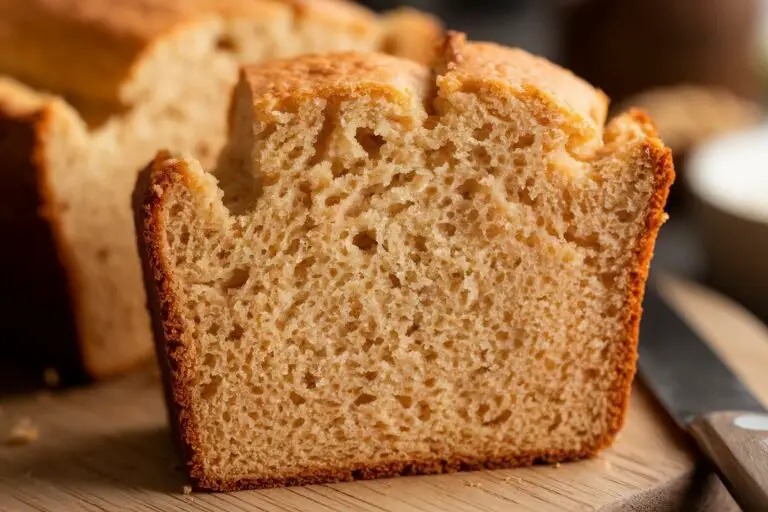
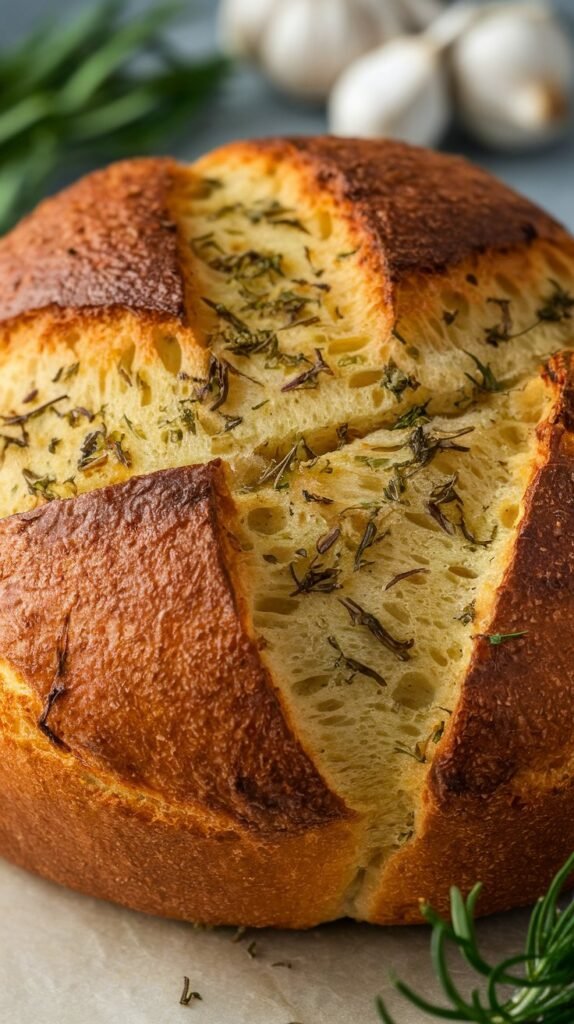
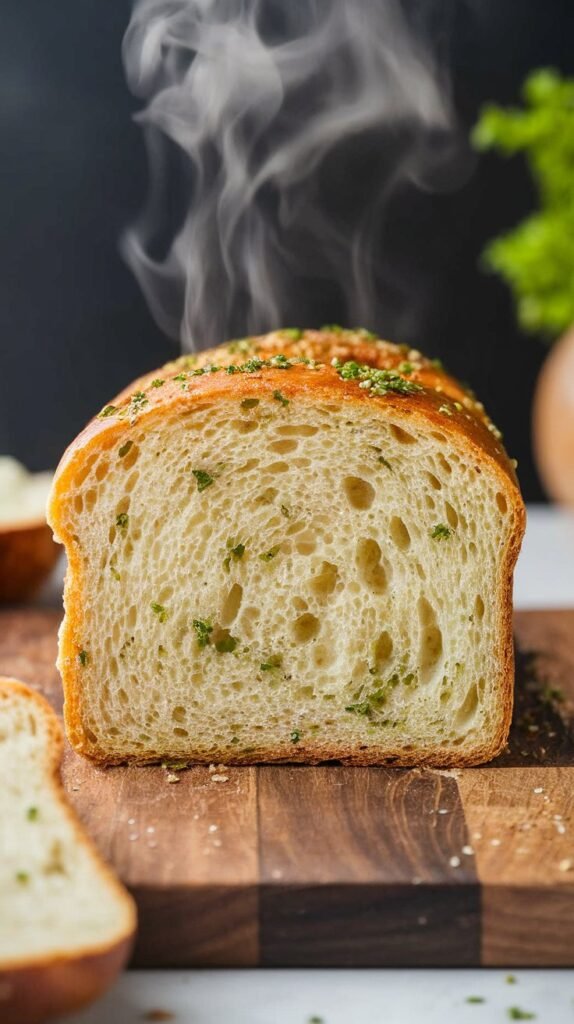
This bread is soft and fluffy on the inside, golden and crispy on the outside, and makes your kitchen smell like you live inside a garlic-lover’s dream. And the herbs? Let’s just say, if you’ve got some sad parsley in the fridge wondering about its purpose in life—it’s about to find it.
Why You’ll Love This Bread (Spoiler: It’s Addictive)
Okay, not to be dramatic, but this bread is kind of a big deal. Here’s why:
- Flavor explosion: Garlic, herbs, butter—need I say more?
- Zero fancy tools: No stand mixer, no sourdough starter from the 1800s. Just a bowl and your beautiful hands.
- Crowd-pleaser: Your friends will think you’ve leveled up in life. Like, “Whoa, did you go to culinary school?” Nope. Just found this recipe. 😎
- Versatile AF: Serve it with pasta, soups, salads, or just eat it alone in the kitchen at midnight. (We’ve all been there.)
What You’ll Need (a.k.a. Your Bread Squad)
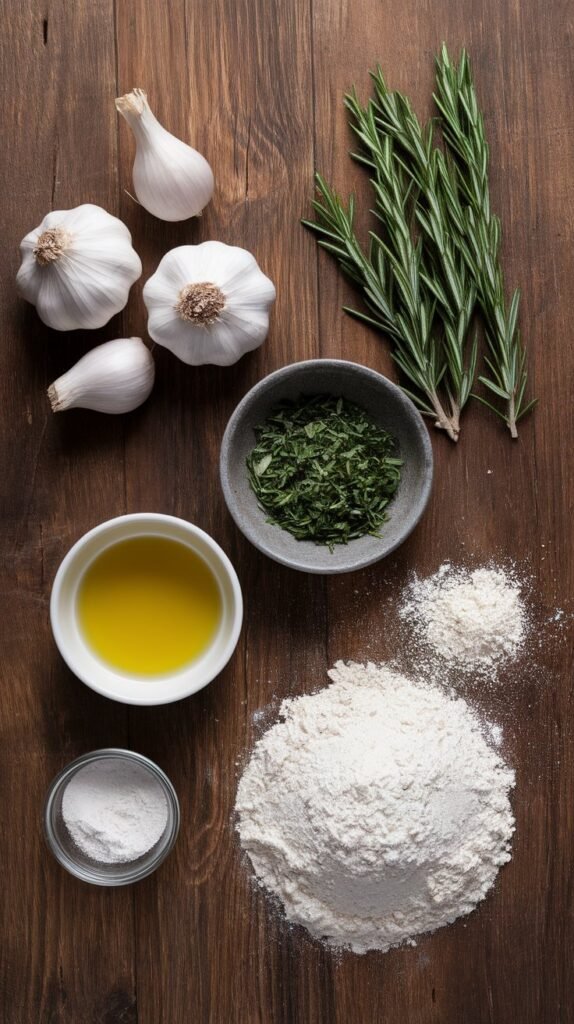
Here’s your ingredient line-up. Nothing wild—everything you probably already have.
- 3 cups all-purpose flour
- 1 tbsp sugar (yes, a little sugar—trust me)
- 2 tsp instant yeast
- 1 tsp salt
- 3 tbsp olive oil
- 3 cloves garlic, minced (or more… no one’s judging)
- 2 tbsp fresh herbs (rosemary, thyme, parsley—whatever’s hanging out in your fridge)
- 1 cup warm water (think bathwater, not boiling lava)
- 2 tbsp melted butter for brushing (optional but highly recommended)
FYI: You can totally use dried herbs if you don’t have fresh ones. Just use less—dried are bossy.
How to Make It (Without Screwing It Up)
Let’s break this down. No stress, no drama. Just bread.
Step 1: Mix It Up
In a big ol’ bowl, combine the flour, sugar, yeast, and salt. Stir it around like you know what you’re doing.
Add olive oil, garlic, and herbs. Pour in the warm water and mix until it forms a shaggy dough. Yes, “shaggy” is a technical term now.
Step 2: Knead It
Turn that mess onto a floured surface and knead for about 8–10 minutes. If your arms hurt, you’re doing it right.
You want a smooth, elastic dough. If it’s too sticky, sprinkle a little more flour. Not too much though—we’re making bread, not bricks.
Step 3: Let It Rise
Pop the dough back in the bowl, cover it with a towel, and let it hang out for about 1 hour. It should double in size—like your love for this bread.
Step 4: Shape It
Once risen, punch it down (very satisfying), then shape it into a round loaf or an oval. Whatever vibe you’re going for.
Put it on a parchment-lined baking sheet or into a greased loaf pan.
Step 5: Final Proof
Cover it again and let it rise another 30–40 minutes. Meanwhile, preheat your oven to 375°F (190°C). Almost there!
Step 6: Bake & Butter
Bake for 25–30 minutes until golden and your house smells like an Italian restaurant. Brush with melted butter while it’s still warm if you want to ascend into flavor heaven.
Common Mistakes (That I 100% Made So You Don’t Have To)
- Water too hot = dead yeast. You’re making bread, not soup. Keep it warm, not boiling.
- Skipping the salt. Salt = flavor. Don’t skip it unless bland bread is your thing.
- Not kneading enough. You want gluten development. If you just mix and hope for the best… yeah, good luck with that.
- Adding garlic too early to yeast. Garlic is acidic and can slow yeast down. Mixing it in with the flour is the safest move.
Easy Alternatives & Add-Ins
Feeling wild? Here are a few twists:
- Cheesy garlic herb bread: Add shredded mozzarella or cheddar to the dough or sprinkle it on top before baking.
- Spicy version: Toss in some crushed red pepper flakes or chopped jalapeños.
- Vegan: Skip the butter or use plant-based alternatives—olive oil works beautifully.
- Gluten-free: This specific recipe won’t work 1:1, but I’ll be writing a GF version soon 😉 stay tuned.
Calories & Macros (Because Some of Us Like to Know)
Alright, here’s the estimated breakdown for one slice (assuming 10 slices per loaf):
- Calories: ~180
- Carbs: 30g
- Fat: 5g
- Protein: 4g
- Fiber: ~1g
FYI: Not diet bread, but also not terrible. Balance it with a salad and you’re basically a health icon.
FAQs (a.k.a. Questions I Asked Myself the First Time)
Can I make the dough ahead of time?
Totally. Just refrigerate it after the first rise and bring it back to room temp before baking.
Can I use whole wheat flour?
You can, but the texture will be denser. Try half whole wheat, half all-purpose for a good middle ground.
What herbs work best?
Fresh rosemary is elite. Thyme and parsley are great too. Basil? Meh. IMO, save it for pizza.
Can I freeze it?
Yup. Let it cool completely, then wrap tightly in foil and freeze. Reheat in oven for best results.
Why did my bread turn out super dense?
You probably didn’t knead it enough or your yeast was sleepy (a.k.a. dead). Make sure your water’s the right temp and your yeast is still alive and kickin’.
Can I turn this into rolls?
Heck yes. Divide into 8–10 pieces, shape into balls, and bake for 18–20 mins.
Final Thoughts (a.k.a. My Love Letter to Bread)
Listen, you could keep buying those pre-sliced, kinda-sorta garlicky loaves at the store… but once you make this garlic herb bread from scratch, there’s no going back. You’ll be the person who “just whips up bread” like it’s no big deal. (It is a big deal. Own it.)
Whether you’re dipping it in soup, stacking it with cheese, or just tearing into it straight from the oven, this bread delivers. And honestly? You deserve it.
Now go forth and bake, carb warrior. 🧄💪