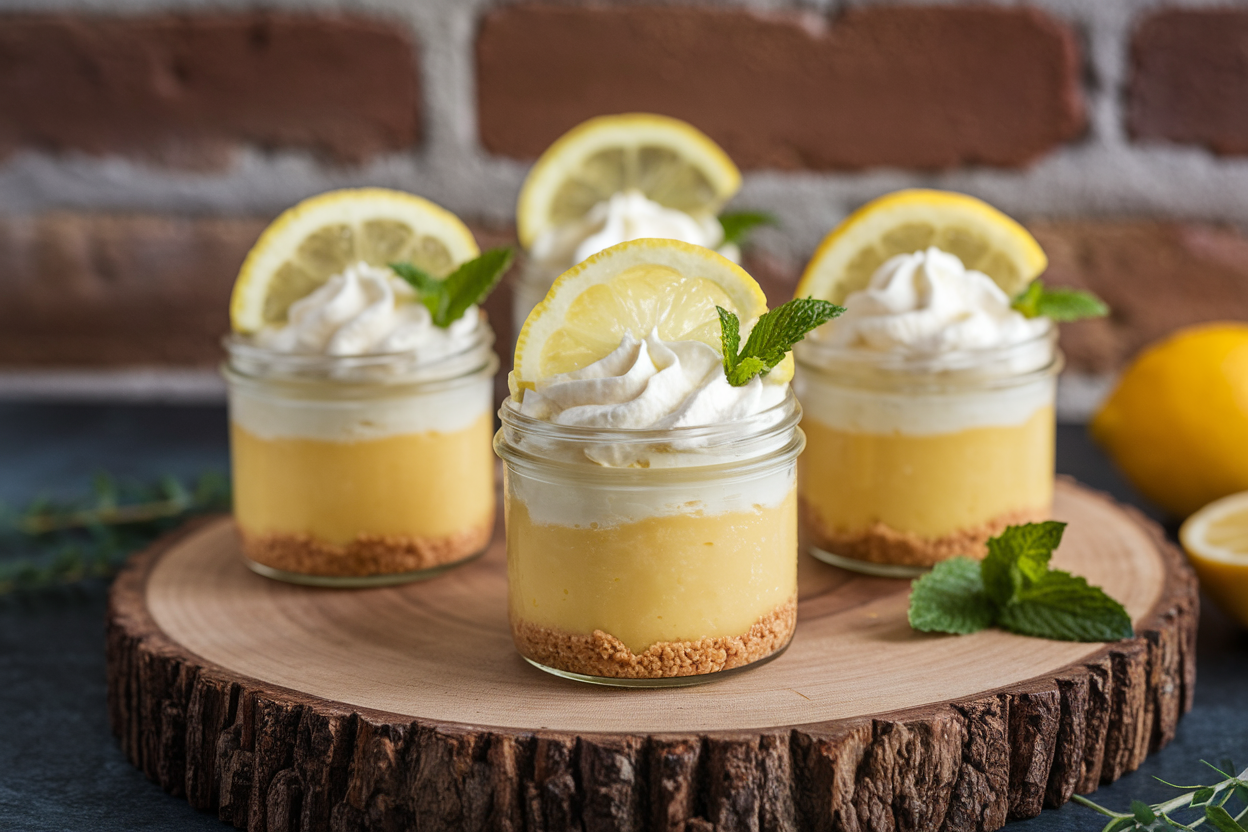
Lemon Cream Pie Jars That Vanish in Minutes: Zesty, No-Bake, Crowd-Hacking Dessert
You want dessert that punches like espresso but feels light as a cloud? Meet Lemon Cream Pie Jars: the tangy-sweet, spoonable treat that makes people think you spent hours—when you didn’t. It’s luxurious, bright, and ridiculously simple.
Build them in 15 minutes, stash in the fridge, and boom—party trick unlocked. And yes, they look like a million bucks in a jar, because presentation sells.
What Makes This Special
These jars balance bright lemon tang with silky cream and a buttery, crunchy base. Translation: every bite hits all the notes.
They’re no-bake, portable, and portion-controlled (in theory). They layer beautifully and hold their shape, so they’re perfect for brunches, birthdays, or any last-minute flex. Also, lemon cuts through richness, so you can eat one after dinner without needing a nap.
What Goes Into This Recipe – Ingredients
- Crust layer
- 1 1/2 cups graham cracker crumbs (or digestive biscuits)
- 5 tablespoons unsalted butter, melted
- 2 tablespoons granulated sugar
- Pinch of fine sea salt
- Lemon cream filling
- 1 cup heavy whipping cream, cold
- 8 oz cream cheese, softened
- 1/2 cup sweetened condensed milk
- 1/3 cup fresh lemon juice (about 2–3 lemons)
- 1 tablespoon lemon zest, finely grated
- 1 teaspoon pure vanilla extract
- Pinch of salt
- Quick lemon curd layer (optional but elite)
- 1/2 cup store-bought lemon curd (or homemade if you’re that person)
- Toppings
- Whipped cream
- Extra lemon zest or thin lemon slices
- Crushed graham crackers for garnish
- Fresh berries (optional)
- Equipment
- 6–8 small jars (4–6 oz each)
- Electric mixer
- Bowls and spatula
Instructions
- Make the crust: Mix graham crumbs, sugar, salt, and melted butter until it resembles wet sand.
- Pack the base: Spoon 2–3 tablespoons into each jar.
Press down gently with the back of a spoon. Chill while you prep the filling.
- Whip the cream: Beat cold heavy cream to medium-stiff peaks. Set aside.
- Make lemon cream: In another bowl, beat cream cheese until smooth.
Add sweetened condensed milk, vanilla, salt, zest, and lemon juice. Beat until velvety and thick.
- Fold it in: Gently fold the whipped cream into the lemon mixture until just combined—no streaks.
- Layer: Add a layer of lemon cream over the crust. If using lemon curd, add a thin spoonful on top.
Repeat with another layer of cream.
- Chill: Cover and refrigerate at least 1–2 hours for best texture. Overnight is chef’s kiss.
- Finish: Top with whipped cream, extra zest, crushed crumbs, or berries. Serve cold.
Storage Tips
- Fridge: Keep sealed for up to 3 days.
Add toppings just before serving to keep them fresh.
- Make-ahead: Assemble crust and cream layers up to 24 hours ahead. Hold garnishes until the end.
- Freezer: You can freeze without toppings for up to 1 month. Thaw in the fridge 6–8 hours.
Texture becomes more mousse-like—still awesome.
Health Benefits
- Lemon juice and zest bring vitamin C and antioxidants, supporting immunity and skin health.
- Portion control is built-in. A small jar satisfies cravings without a massive slice.
- Protein and fat from cream cheese help with satiety, reducing snack attacks later. FYI, that balance matters.
Pitfalls to Watch Out For
- Runny filling: Use cold cream and whip to medium-stiff peaks.
Don’t overdo the lemon juice; measure it.
- Gritty base: Pack the crumb layer firmly so it doesn’t crumble into the cream.
- Curdled mixture: Beat cream cheese until completely smooth before adding acidic lemon. Lumps are not the vibe.
- Watery jars after chilling: Avoid wet berries inside the layers. Add fruit on top just before serving.
Alternatives
- Gluten-free: Use GF graham crackers or almond flour crumbs (toast lightly, then add butter and a pinch of sugar).
- Lighter version: Swap Neufchâtel for cream cheese and use reduced-fat condensed milk.
It’s not identical, but still tasty.
- Dairy-free: Use coconut cream (whipped), vegan cream cheese, and dairy-free condensed milk. Flavor with extra zest to cut richness.
- Flavor spins: Try lime or yuzu juice, or swirl in raspberry puree with the lemon curd. Want drama?
Torch a meringue topping instead of whipped cream.
- Crust swaps: Shortbread, Biscoff, or crushed vanilla wafers for different profiles. IMO, Biscoff + lemon = elite.
FAQ
Can I make these a day ahead?
Yes. Assemble the jars without toppings up to 24 hours ahead.
Add whipped cream and garnishes right before serving for max freshness.
Do I need lemon curd?
No, but it adds a concentrated lemon punch and a pretty layer. If skipping, add a touch more zest to the cream.
Why did my filling turn soupy?
Likely under-whipped cream or too much lemon juice. Start with cold cream, whip to medium-stiff peaks, and measure the juice accurately.
What size jars should I use?
Four to six ounces is the sweet spot for individual servings.
Smaller 4 oz jars are great for parties; 6 oz is more indulgent.
Can I use bottled lemon juice?
You can, but fresh juice and zest deliver brighter flavor and aroma. Bottled can taste flat—your call.
My Take
These Lemon Cream Pie Jars are that rare combo of low effort, high applause. They scale for crowds, they look luxe, and the flavor slaps every time.
Keep the base formula, then freestyle the toppings and crusts. When you need a guaranteed win in under 20 minutes, this is it.