Peanut Butter Chocolate Fudge – The No-Bake Treat That’s Too Easy to Resist
Let’s talk about fudge. Specifically, the kind of rich, chocolatey, peanut buttery goodness that melts in your mouth and requires absolutely no baking. Yep, you read that right—zero ovens involved.
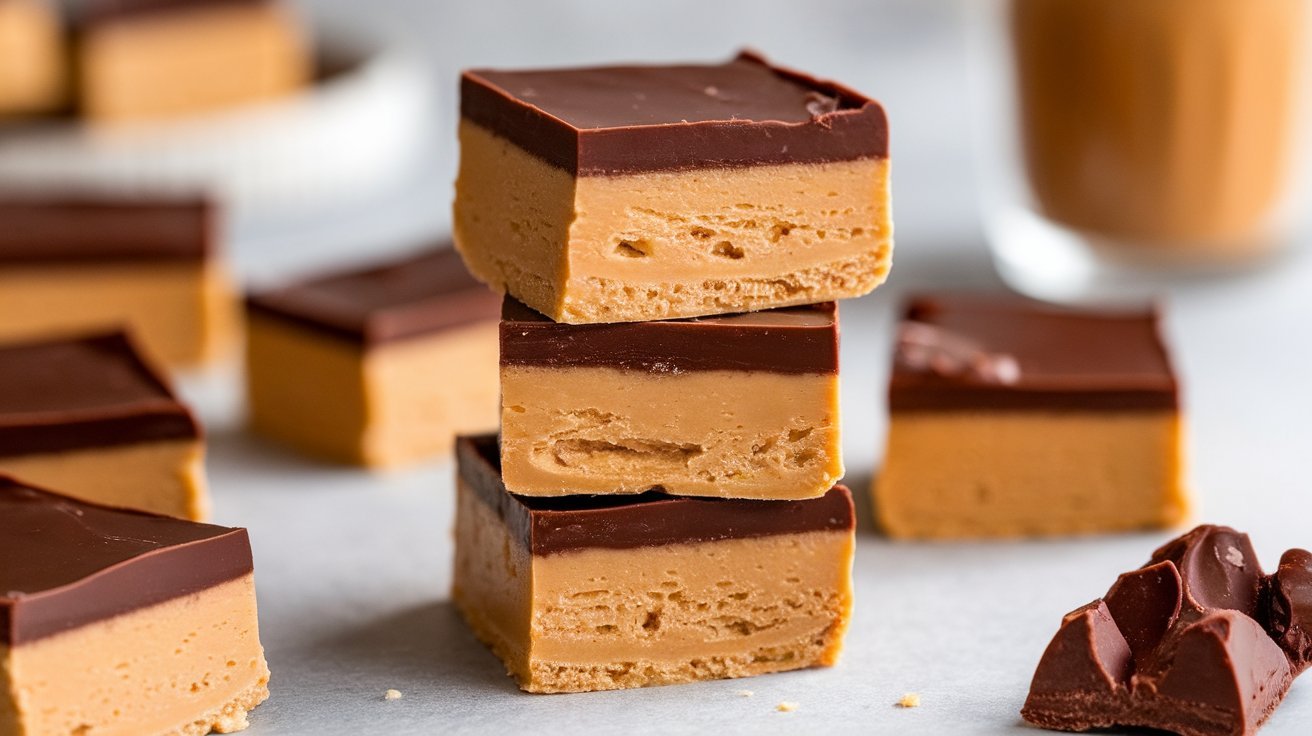
This Peanut Butter Chocolate Fudge is the answer to all your dessert cravings. It’s ridiculously easy, only needs five ingredients, and tastes like something straight out of a fancy candy shop.
The best part? You don’t need to be a pro baker to pull this off. If you can melt, stir, and pour, you can make this fudge.
Why You’ll Love This Fudge

Aside from the fact that it’s basically effortless, here’s why you need this fudge in your life ASAP:
✅ No oven, no problem – This is a true no-bake dessert. Your stove or microwave does all the work.
✅ Only five ingredients – No weird, hard-to-find stuff. You probably have everything in your pantry right now.
✅ Perfect texture – Smooth, creamy, and melts in your mouth with every bite.
✅ Customizable – Want nuts? Cool. A sprinkle of sea salt? Even better. A swirl of caramel? Now you’re just showing off.
✅ Ridiculously addictive – Don’t say I didn’t warn you. Once you make this, there’s no going back.
Ingredients (Just 5!)

You only need a handful of simple ingredients, but they work magic together:
- 1 cup peanut butter – Creamy works best, but if you love a little crunch, go wild with chunky.
- ½ cup coconut oil – This helps give the fudge that silky-smooth texture. Butter can work too, but coconut oil keeps it dairy-free.
- ¼ cup honey or maple syrup – For that perfect touch of sweetness without making it too sugary.
- ½ cup cocoa powder – Because what’s fudge without a deep, rich chocolate flavor?
- 1 tsp vanilla extract – Just a tiny bit to balance out all the flavors.
Optional (but totally recommended): A pinch of sea salt for contrast, or some chopped nuts for extra crunch.
How to Make It (Step-by-Step Guide)
Making this fudge is almost too easy. Here’s what you need to do:
Step 1: Melt and Mix
First, grab a small saucepan and melt the peanut butter and coconut oil over low heat. You don’t want it bubbling—just warm enough to turn everything into a smooth, pourable mixture. Stir constantly so nothing sticks to the bottom (because burnt peanut butter is not the vibe).
Once melted, remove from heat and whisk in the honey (or maple syrup), cocoa powder, and vanilla extract until fully combined. It should look glossy and smooth, kind of like a thick chocolate sauce. Try not to eat it straight from the pot—self-control, my friend.
Step 2: Pour and Smooth It Out
Line a small baking dish or loaf pan with parchment paper. This makes your life 1000% easier when it comes time to slice the fudge later.
Pour the warm chocolate-peanut butter mixture into the pan and use a spatula to smooth it out evenly. At this point, it’s basically a blank canvas—so if you want to add anything on top (like sea salt, chopped nuts, or even mini chocolate chips), now’s the time!
Step 3: Chill and Wait (The Hardest Part)
Pop the pan into the fridge and let it set for at least 1-2 hours. If you’re in a hurry (or just impatient, no judgment), you can speed things up by placing it in the freezer for 30-40 minutes.
You’ll know it’s ready when the fudge is firm to the touch and holds its shape when sliced.
Step 4: Slice and Enjoy
Once the fudge is set, lift it out using the parchment paper and place it on a cutting board. Use a sharp knife to cut it into small squares—because trust me, this stuff is rich, and even a tiny piece is satisfying.
At this point, you have two options:
- Eat immediately (because who has time to wait?)
- Store for later (if you have more self-control than the rest of us).

Pro Tips for the Best Fudge
Sure, this fudge is foolproof, but here are a few tricks to make sure it turns out perfect every time:
🔥 Don’t overheat the peanut butter and coconut oil. Keep the heat low and slow, or you’ll end up with a greasy mess.
🌀 Use smooth peanut butter for the creamiest texture. If you love a little crunch, feel free to use chunky, but be warned—it won’t be as silky.
🌡️ Let it set fully before slicing. I know, waiting is torture, but if you try to cut it too early, you’ll end up with a gooey mess.
💡 Get creative with toppings! Crushed pretzels, shredded coconut, or even a drizzle of caramel take this fudge to the next level.
How to Store It (If You Somehow Have Leftovers)
This fudge is best stored in the fridge, because coconut oil melts at room temperature. Here’s what to do:
- Fridge: Store in an airtight container for up to two weeks (but let’s be real, it won’t last that long).
- Freezer: If you want to make a big batch, freeze it! Just wrap each piece in parchment paper, toss it in a container, and it’ll stay fresh for up to three months.
Pro tip: Let frozen fudge sit out for 5-10 minutes before eating. Unless you enjoy breaking your teeth.

Why This Fudge is Basically Dessert Magic
Still not convinced? Here’s why this Peanut Butter Chocolate Fudge is a game-changer:
- Takes less than 10 minutes to make (the fridge does all the hard work).
- Tastes like Reese’s but better—because it’s homemade and doesn’t have mystery ingredients.
- No fancy equipment needed—just a saucepan, a whisk, and a fridge.
- Dairy-free and gluten-free—so you can share it with basically everyone (or keep it all to yourself).
Final Thoughts
If you’re looking for a dessert that’s stupidly easy, insanely delicious, and requires zero baking skills, this Peanut Butter Chocolate Fudge is the answer. It’s the kind of treat that looks impressive, tastes even better, and might just disappear before it even makes it to the fridge.
So go ahead, make a batch (or two), and try not to eat it all in one sitting. No promises, though.