Peanut Butter Cornflake Bars (The Chewy, Crunchy, Sweet Tooth Fix You Didn’t Know You Needed)
Let’s talk about one of the easiest, cheapest, and most absurdly addictive treats you can whip up with stuff already sitting in your pantry.
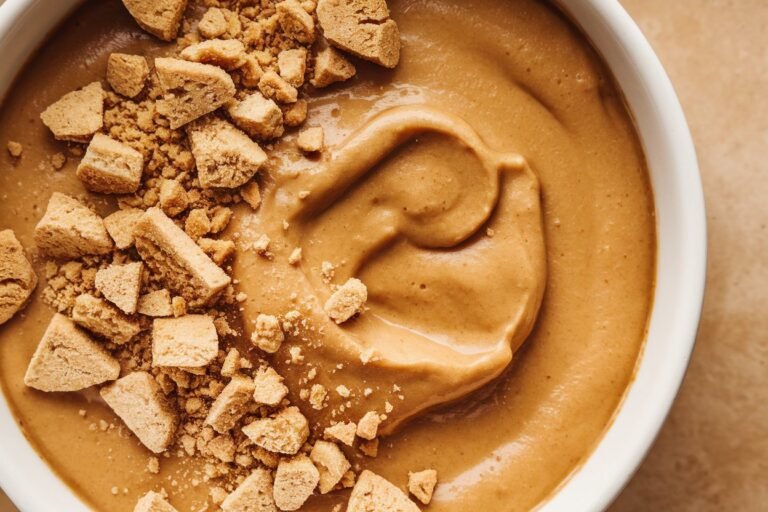
These no-bake bars have a base of crunchy cornflakes and a gooey, sweet, peanut-buttery mixture holding everything together. That’s it. That’s the magic.
They’re kinda like if your favorite childhood cereal met up with a peanut butter cup and decided to become a snack bar. And then someone brought them to every bake sale, school function, and sleepover from 1970 to… well, now. Because some things just never go out of style.
What Makes Them So Good

It’s the combo that hits every craving.
- Sweet + salty in every bite (hello, peanut butter magic).
- Crunchy and chewy texture? Yes, please.
- No oven. No fuss. No waiting around for stuff to cool in a hot kitchen.
- Comes together in like 10 minutes. Maybe less if you hustle.
- Stupidly customizable. Want to toss in chocolate? Do it. Pretzels? Why not?
They’re also weirdly nostalgic—even if you didn’t grow up eating them. One bite and you’ll feel like you’re back in your grandma’s kitchen, sneaking one from the tray before dinner.
Ingredients
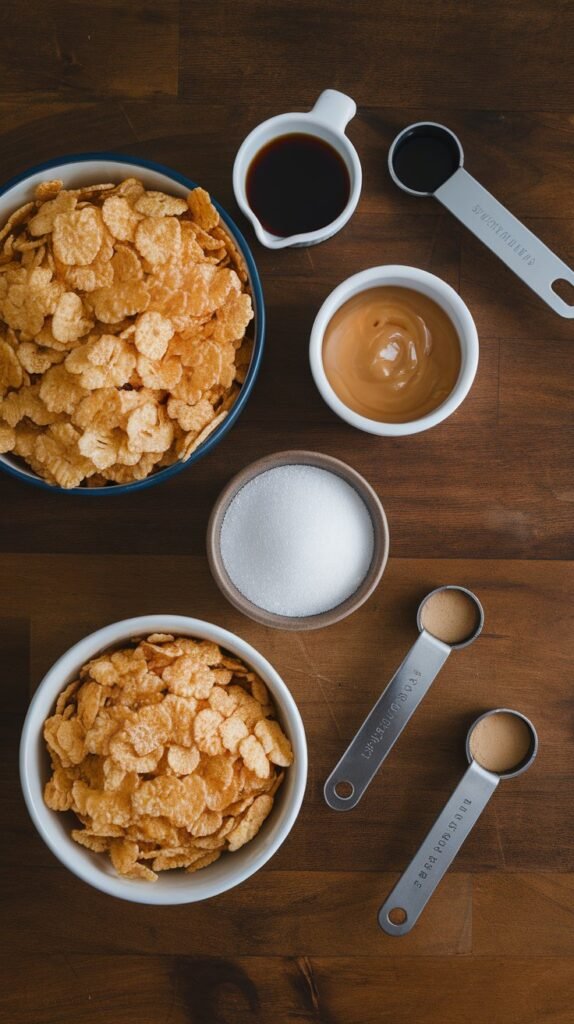
You probably already have everything. If not, it’s a short grocery list.
- 6 cups cornflakes (plain, unsweetened)
- 1 cup light corn syrup
- 1 cup granulated sugar
- 1 cup creamy peanut butter
- 1 tsp vanilla extract
- Optional: pinch of salt (if your peanut butter isn’t salted)
Optional upgrades (pick your fighter):
- Mini chocolate chips
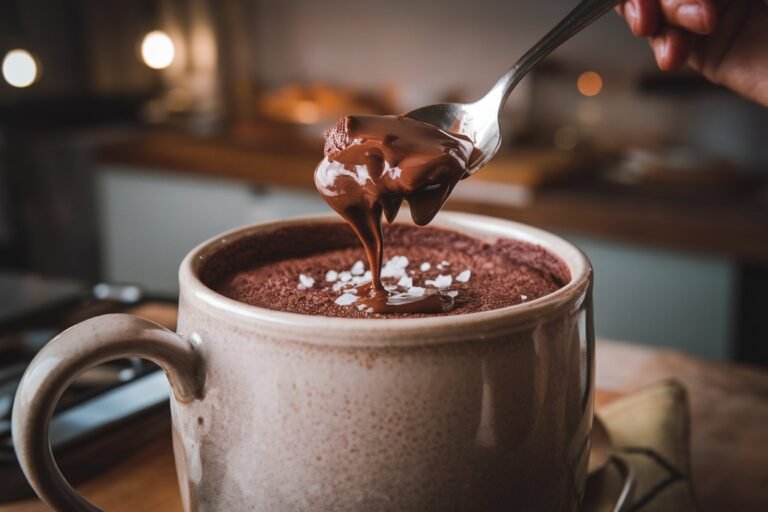
- Drizzle of melted chocolate on top
- Crushed pretzels or peanuts
- Sprinkle of sea salt for that fancy finish
Step-by-Step Instructions
This is a blink-and-it’s-done kind of recipe. Perfect for when you’re low on time but still want to impress people.
Step 1: Prep your pan
Grease a 9×13-inch pan with butter or line it with parchment paper. Do this first so you’re not scrambling when the sticky stuff’s ready.
Step 2: Boil the syrup and sugar
In a large saucepan over medium heat, stir together the corn syrup and sugar until it starts bubbling. Once it boils, let it go for about 1 minute. Don’t walk away—it moves fast. You’re not making candy, just warming things up enough to dissolve the sugar.
Step 3: Add peanut butter + vanilla
Turn off the heat and stir in the peanut butter and vanilla until smooth. It’ll smell amazing. Try not to face-plant into the pot.
Step 4: Stir in the cornflakes
Pour in the cornflakes and mix until every flake is coated in sticky, peanut-buttery goodness. Work quickly—it starts to set up fast.
Step 5: Press and set
Dump the mixture into your prepared pan and press it down with a spatula, buttered spoon, or your hands (use wax paper if you’re fancy). Flatten it out evenly.
Let it sit at room temp for 30 minutes, or pop it in the fridge to speed things up. Slice into bars once firm. Boom. Done.

Common Mistakes to Avoid
These bars are low-effort, but a couple wrong moves can still ruin your day.
1. Overboiling the syrup
One minute, tops. Any longer and you risk making hard candy bars instead of chewy treats.
2. Using natural peanut butter
Sorry, health nuts. The texture doesn’t play well here—it separates too easily and can make the bars greasy or crumbly.
3. Not prepping your pan first
Once the mix is ready, it needs to go in immediately. You don’t want to be buttering a dish with one hand while your mix turns to concrete in the pot.
4. Pressing too hard
Smashing the bars down like you’re mad at them makes them dense. You want to press just enough to hold their shape—gentle firmness is key.
5. Trying to slice too soon
Let them cool. Otherwise, it’s sticky chaos. Tasty chaos, but still.
Variations & Add-Ins
These bars are stupidly versatile. Go wild or keep it simple—either way, they’ll be gone fast.
- Top with melted chocolate or butterscotch chips for a dessert bar upgrade.
- Stir in crushed pretzels or mini marshmallows for extra crunch or softness.
- Swap cornflakes for Rice Krispies or even crushed Chex for a twist.
- Use almond butter or cashew butter if peanut allergies are a thing.
- Add cinnamon or a splash of espresso for unexpected flavor bombs.
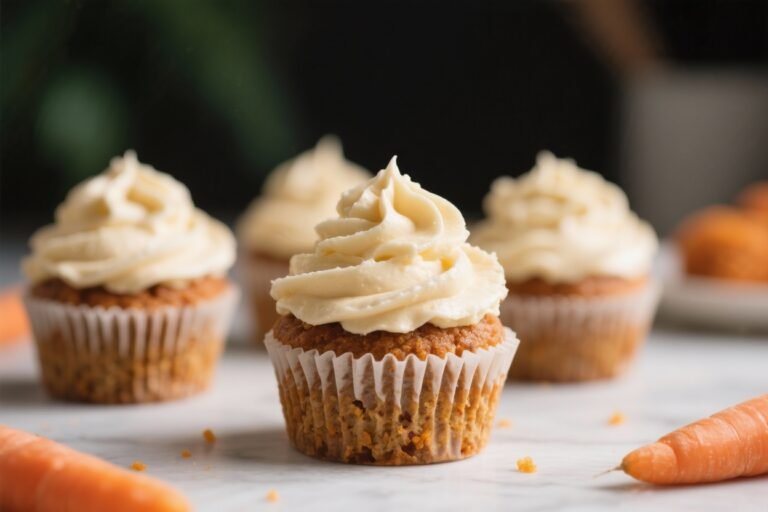
- Make minis in muffin tins for grab-and-go snack size.
FAQ
Can I use honey instead of corn syrup?
Technically, yes. But the bars may be softer and a bit stickier. Corn syrup gives that classic chewy-but-firm texture.
Do these need to be refrigerated?
Not really! They’re fine at room temp, but you can chill them if you want a firmer bite. Just cover them so they don’t dry out.
How long do they last?
About a week at room temp in an airtight container. That said, they won’t last a week. People will devour them.
Can I freeze them?
Yep! Freeze in layers with wax paper between. Thaw at room temp for 15–20 minutes before eating.
Can I make them gluten-free?
Yes—just make sure your cornflakes are certified gluten-free (some aren’t due to processing). Everything else is naturally GF.
What if I like my bars softer?
Reduce the boiling time of the syrup to about 30 seconds and don’t pack them down too tightly. That’ll give you softer, chewier results.
Can I double the recipe?
Absolutely. Use a larger pan or make two batches. Just move fast when mixing and spreading—the stuff sets up quick.
Final Thoughts
These cornflake bars are the definition of “less is more.” Few ingredients, no baking, and zero fancy skills required—but somehow they turn out super satisfying every single time. The combo of crunch, chew, and peanut butter sweetness hits like a nostalgic sugar high in the best possible way.
They’re perfect for lunchboxes, bake sales, 2 a.m. cravings, or just impressing people without breaking a sweat. Once you make a batch, don’t be surprised if they disappear faster than you can say, “Wait, who ate all the bars?”