Grandma’s No-Bake Cheesecake Cups
Sometimes you want cheesecake, but you don’t want to deal with springform pans, water baths, oven timers, or existential crises over cracks in the top.
Enter: these adorable, no-bake cheesecake cups—the ultimate shortcut to creamy, dreamy satisfaction without the drama.
They’re individual-sized (read: cute), crazy simple, and taste like the cheesecake you grew up eating at every family reunion, only better. Why? Because you don’t have to share a pan, and they set in the fridge while you go live your life.
What Makes Them So Good

Let’s be real—cheesecake is always a good idea. But these cups? They’re next-level for a few reasons:
- No oven. No heating up your kitchen or worrying about “baking things evenly.”
- Individual portions. Built-in portion control. Or not. Who’s counting?
- Creamy, tangy, rich, and sweet. Everything you want in a cheesecake, minus the stress.
- Make-ahead friendly. Perfect for parties, holidays, or honestly just Tuesday.
- Customizable. Top them with fruit, chocolate, caramel, crushed cookies—go wild.
Basically, they’re everything you love about cheesecake, but without the extra work or risk of a cracked surface and emotional spiral.
Ingredients

Minimal ingredients. Maximum joy.
For the crust:
- 1½ cups graham cracker crumbs
- ¼ cup granulated sugar
- 5 tbsp unsalted butter, melted
For the filling:
- 2 (8 oz) blocks cream cheese, softened
- 1 (14 oz) can sweetened condensed milk
- 1 tsp vanilla extract
- 2 tbsp lemon juice (fresh is best)
For topping (choose your own adventure):
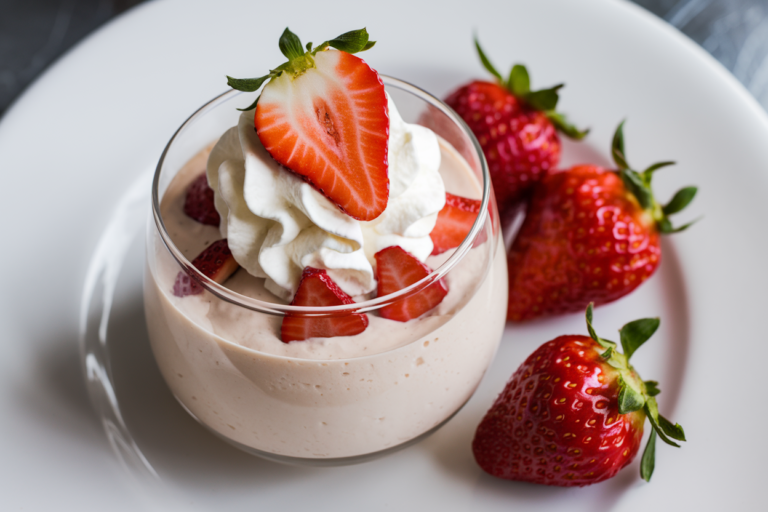
- Fresh berries
- Cherry or blueberry pie filling
- Crushed Oreos or Biscoff
- Chocolate sauce or caramel drizzle
- Lemon curd (fancy grandma energy)
Step-by-Step Instructions
Step 1: Mix the crust
In a bowl, stir together graham cracker crumbs, sugar, and melted butter until it looks like sandy gold. Spoon a couple tablespoons into the bottom of each cup or jar and press it down. Shot glasses, mason jars, dessert cups—whatever makes you feel fancy.
Pop them in the fridge to set while you make the filling.
Step 2: Whip up the filling
In a mixing bowl, beat the cream cheese until smooth (no lumps, please). Add in the sweetened condensed milk, vanilla, and lemon juice, and beat again until it’s all combined and silky smooth.
Step 3: Spoon and chill
Spoon the filling over the crust layer in each cup. Smooth the tops with a spoon or just tap the cups gently on the counter to level them out.
Cover and refrigerate for at least 3–4 hours, or overnight if you’ve got time (and patience).
Step 4: Top it off
Right before serving, add your favorite toppings. Go classic with cherry pie filling or fancy it up with berries and lemon zest. Your cheesecake, your rules.

Common Mistakes to Avoid
It’s hard to mess these up, but here are the biggest “don’t do that” moments:
1. Using cold cream cheese
Cold = lumpy. Let it soften at room temp for about 30 minutes. It makes a huge difference in texture.
2. Not chilling long enough
The filling needs time to set. If you rush it, you’ll be serving cheesecake soup. Delicious, but… not what we’re going for.
3. Overmixing the filling
Once it’s smooth, stop. Overmixing can make it too airy or runny.
4. Too much lemon juice
It’s there for a little tang and firmness—not to make lemon cheesecake (unless you want that). Stick to the 2 tbsp.
5. Filling the cups too full
Leave space for toppings. Unless you’re going for “Oops All Cheesecake,” in which case… respect.
Variations & Twists
Feel like changing it up? Go for it.
- Use cookie crumbs instead of graham crackers (Oreos, Nilla Wafers, Biscoff = chef’s kiss).
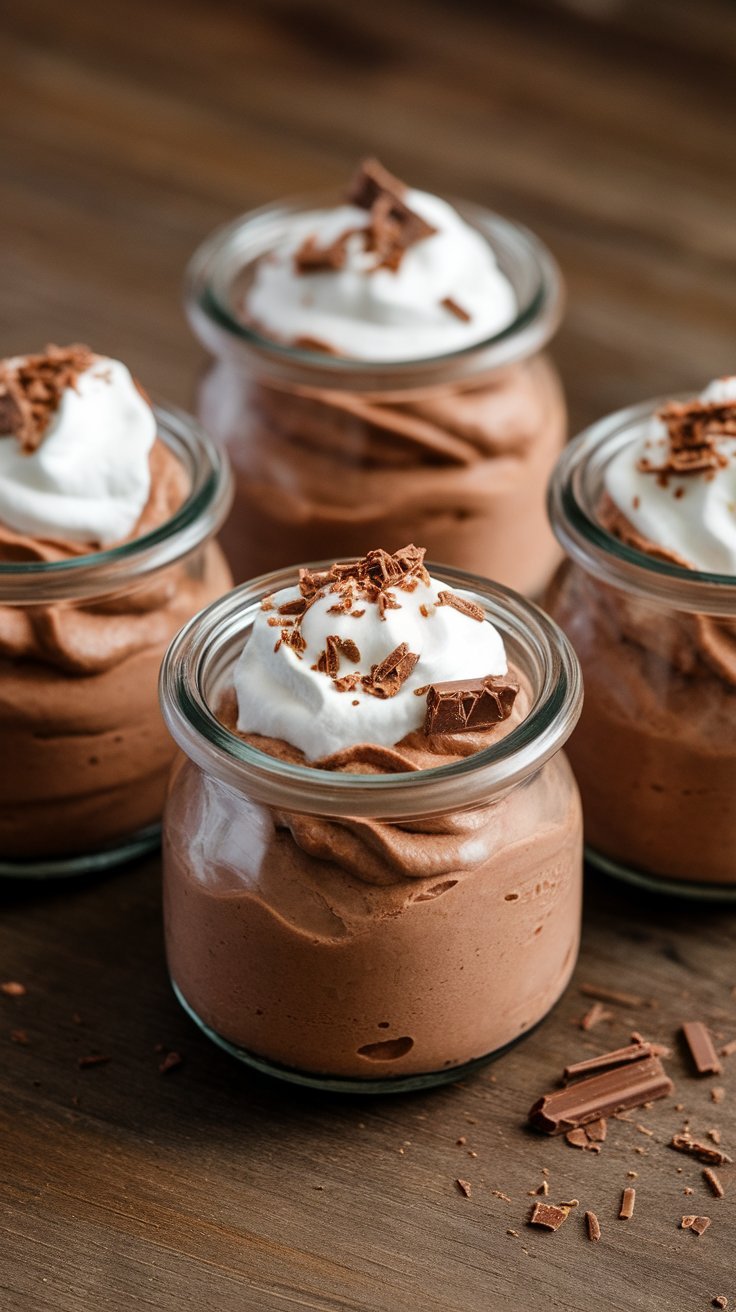
- Make it chocolate. Add melted chocolate or cocoa powder to the filling.
- Layer it like a parfait with fruit or sauce between layers of cheesecake and crumbs.
- Add spices to the crust like cinnamon, ginger, or cardamom for extra depth.
- Use mini cupcake liners or silicone molds if you want them to pop out like little cheesecakes.
FAQ
Can I make these ahead of time?
Yes! That’s actually the whole point. Make them a day or two ahead and store covered in the fridge until ready to serve.
How long do they last in the fridge?
About 4–5 days if kept covered. After that, the texture starts to change, and they lose that fresh flavor.
Can I freeze no-bake cheesecake cups?
Totally. Freeze without the toppings, then thaw in the fridge before serving. The texture stays surprisingly creamy.
Can I use low-fat cream cheese?
You can, but the texture will be slightly softer and not quite as rich. Go full-fat for the best results.
Can I turn this into a whole cheesecake instead of cups?
Yes! Press the crust into a springform pan and spread the filling over the top. Chill and slice as usual. It’s still no-bake and still delicious.
Do I need a mixer?
A hand mixer or stand mixer makes your life easier, but you can use a strong whisk and some elbow grease if you’re feeling ambitious.
Why is there lemon juice in this?
It helps set the filling and adds a little tang to balance the sweetness. It’s subtle, but important.
Final Thoughts
These no-bake cheesecake cups are the definition of a low-effort, high-reward dessert. Creamy, tangy, sweet, and perfectly portioned—what more could you want? They’re great for parties, holidays, random weeknights, or literally any time your sweet tooth starts whispering, “Hey… remember cheesecake?”
Make a batch, pop ’em in the fridge, and thank yourself later. And if you eat one for breakfast the next day? Grandma would totally approve. 😌