Why Apple Pie is the MVP of Desserts
Apple pie isn’t just a dessert—it’s a cultural icon. Think about it: it’s the dessert your grandma made, the one you see in every diner, and the one that somehow always ends up at Thanksgiving. It’s warm, comforting, and smells like heaven.
But here’s the kicker: it’s also ridiculously easy to make. You don’t need to be a pastry chef or own a fancy kitchen. All you need are a few basic ingredients, a little patience, and maybe a scoop of vanilla ice cream (because, let’s be real, pie without ice cream is just sad).
Ready to make the ultimate crowd-pleaser? Let’s go.
What Makes This Recipe So Good

This apple pie recipe is the Goldilocks of desserts—not too sweet, not too tart, just right. The secret?
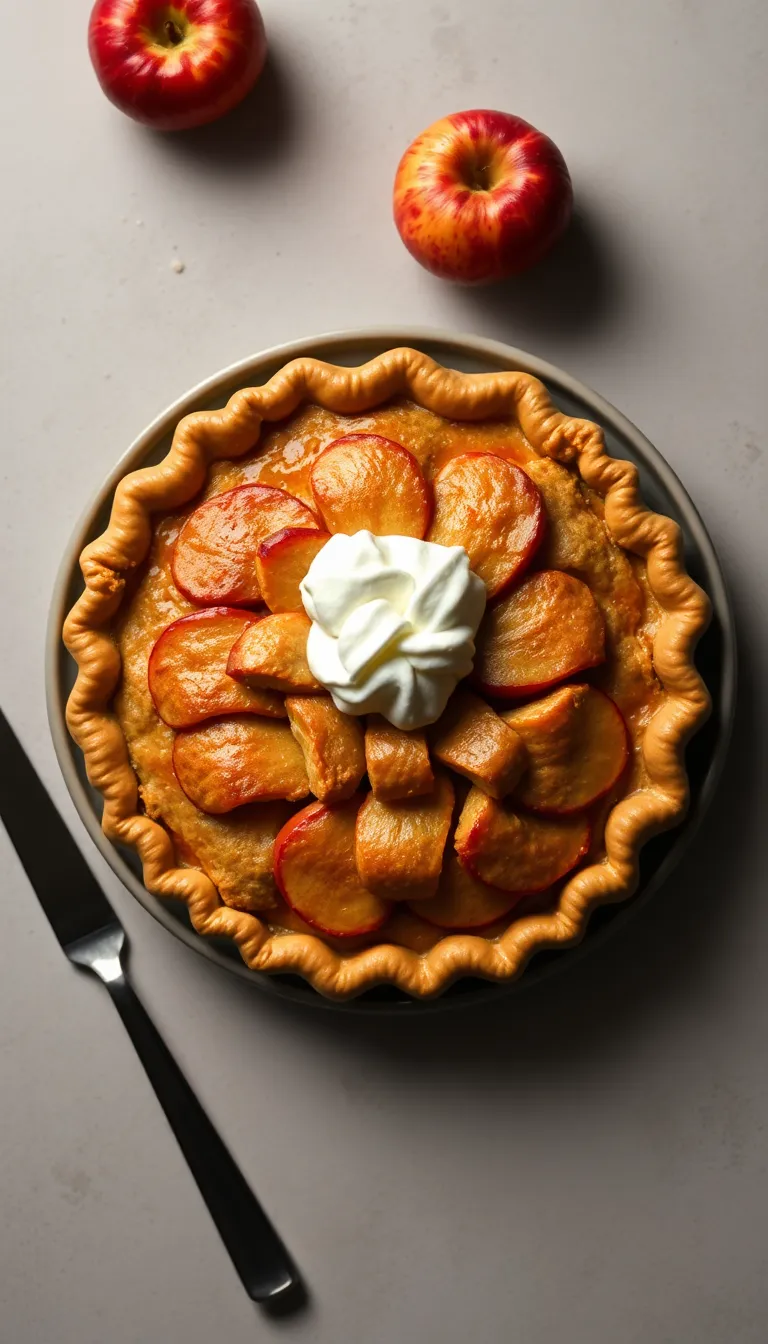
A perfect balance of spices, a flaky crust, and apples that hold their shape without turning to mush. Plus, it’s versatile. Serve it warm, cold, with ice cream, or straight out of the pan (no judgment).
It’s the kind of dessert that makes people ask for seconds—and the recipe.
Ingredients
- 6–8 medium apples (a mix of Granny Smith and Honeycrisp works best)
- 1 cup granulated sugar
- 1/4 cup brown sugar
- 2 tbsp all-purpose flour
- 1 tsp ground cinnamon
- 1/4 tsp ground nutmeg
- 1/4 tsp salt
- 1 tbsp lemon juice
- 2 pre-made pie crusts (or make your own if you’re feeling fancy)
- 1 egg (for egg wash)
- 1 tbsp milk
Step-by-Step Instructions
- Preheat your oven to 375°F (190°C). This is non-negotiable unless you enjoy raw pie.
- Peel, core, and slice the apples. Aim for thin, even slices—no one likes a chunky bite.
- Mix the dry ingredients. In a large bowl, combine the sugars, flour, cinnamon, nutmeg, and salt.
- Toss the apples. Add the apple slices and lemon juice to the dry mix. Stir until the apples are evenly coated.
- Prepare the crust. Roll out one pie crust and place it in a 9-inch pie dish. Trim the edges if needed.
- Fill the pie. Pour the apple mixture into the crust, spreading it evenly.
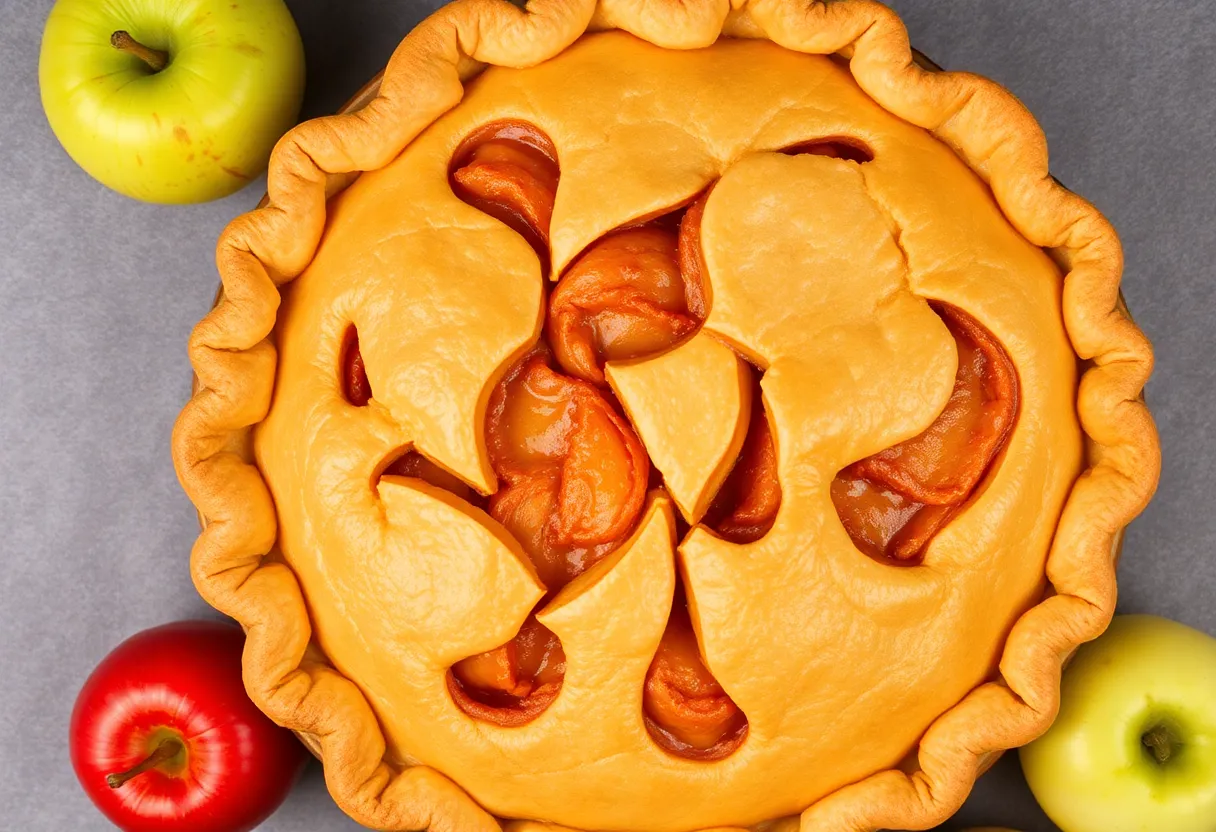
- Top it off. Roll out the second crust and place it over the apples.
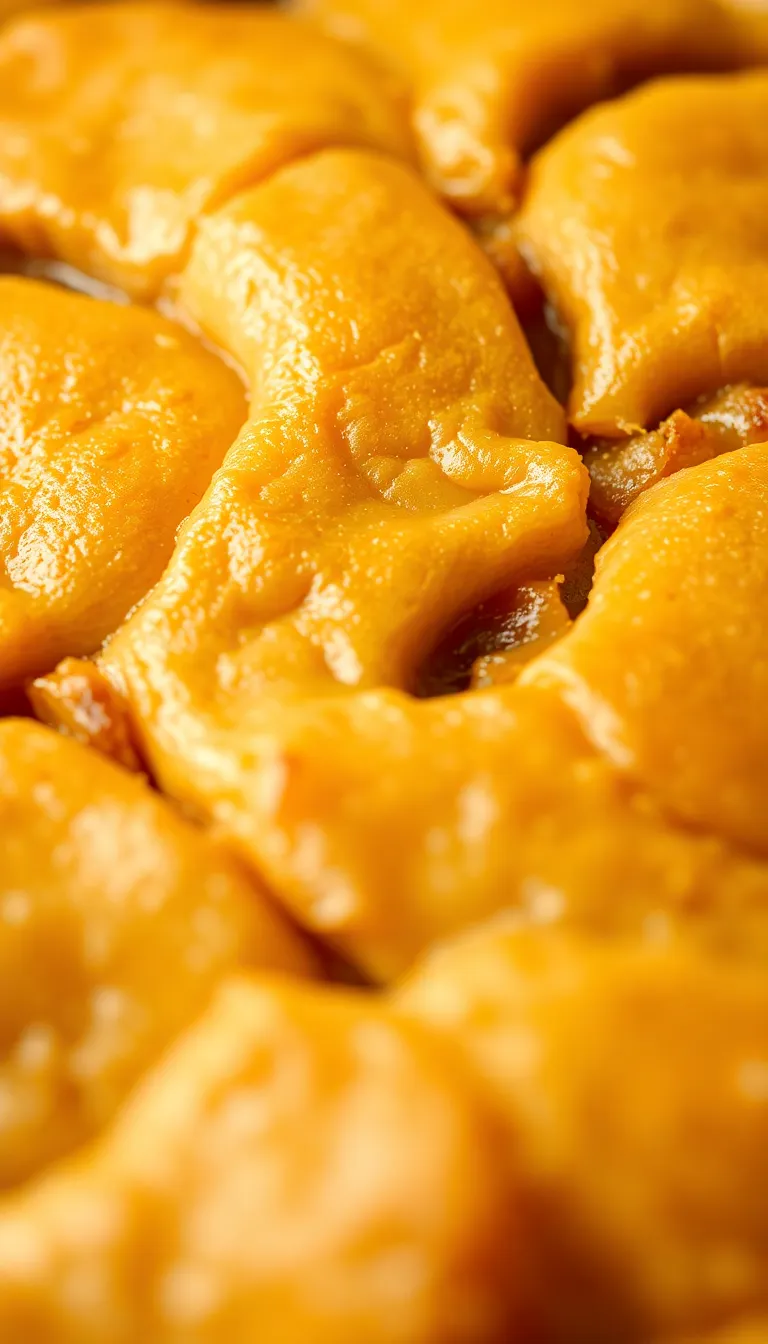
Crimp the edges to seal, then cut a few slits in the top for ventilation.
- Make the egg wash. Whisk the egg and milk together, then brush it over the top crust. This gives it that golden, Instagram-worthy finish.
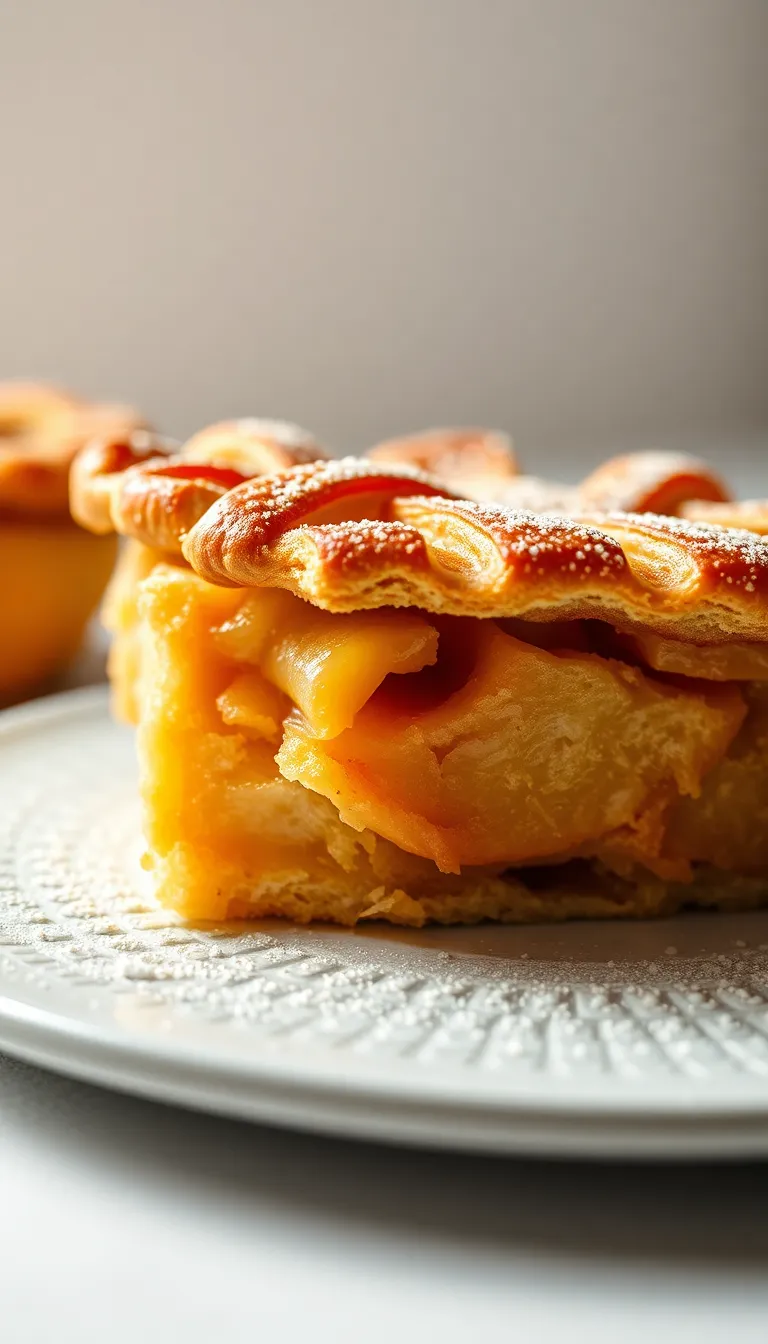
- Bake for 50–60 minutes. The crust should be golden brown, and the filling should bubble slightly.
- Let it cool. Seriously, don’t burn your mouth. Let it sit for at least 30 minutes before slicing.
Storage Instructions
Store your apple pie at room temperature for up to 2 days, covered loosely with foil.
For longer storage, refrigerate it for up to 5 days. Want to freeze it? Wrap it tightly in plastic wrap and foil, then freeze for up to 3 months.
Reheat in the oven at 350°F (175°C) for 15–20 minutes to bring back that fresh-baked magic.
Benefits of This Recipe
Besides being delicious, this apple pie recipe is a winner because it’s easy to customize. Swap out the spices, add nuts, or drizzle caramel on top. It’s also a great way to use up apples that are past their prime.
Plus, baking a pie from scratch makes you look like a culinary genius—even if you used store-bought crust. IMO, that’s a win-win.
Common Mistakes to Avoid
- Overloading the pie. Too many apples can make the filling spill over and create a mess in your oven.
- Using only one type of apple. A mix of tart and sweet apples gives the best flavor and texture.
- Skipping the egg wash. Without it, your crust won’t have that golden, glossy finish.
- Cutting into the pie too soon. Let it cool so the filling sets properly. Patience is a virtue, my friend.
Alternatives
If you’re feeling adventurous, try these twists:
- Dutch apple pie: Skip the top crust and add a crumbly streusel topping instead.
- Mini pies: Use a muffin tin to make individual servings.
Perfect for parties or portion control (lol, who are we kidding?).
- Vegan version: Use plant-based butter and skip the egg wash. It’s just as tasty.
FAQs
Can I use frozen apples?
Yes, but thaw and drain them first. Frozen apples release a lot of liquid, which can make your pie soggy.
What’s the best way to prevent a soggy crust?
Blind bake the bottom crust for 10 minutes before adding the filling.
This creates a barrier and keeps it crisp.
Can I make this gluten-free?
Absolutely! Use a gluten-free pie crust and substitute the flour with cornstarch or a gluten-free flour blend.
Why does my pie filling taste bland?
You might not have used enough spices or lemon juice. Adjust to taste next time—and don’t skimp on the cinnamon.
Can I use a different fruit?
Sure, but then it’s not apple pie.
FYI, peaches and berries work well in similar recipes.
Final Thoughts
Apple pie is more than just a dessert—it’s a tradition, a comfort food, and a guaranteed way to impress your friends and family. Whether you’re a baking newbie or a seasoned pro, this recipe is foolproof and endlessly adaptable. So grab those apples, preheat that oven, and get ready to make the best dang pie of your life.
And remember: if all else fails, just add more ice cream.