Why Pumpkin Pie Bars Are the Dessert You Didn’t Know You Needed
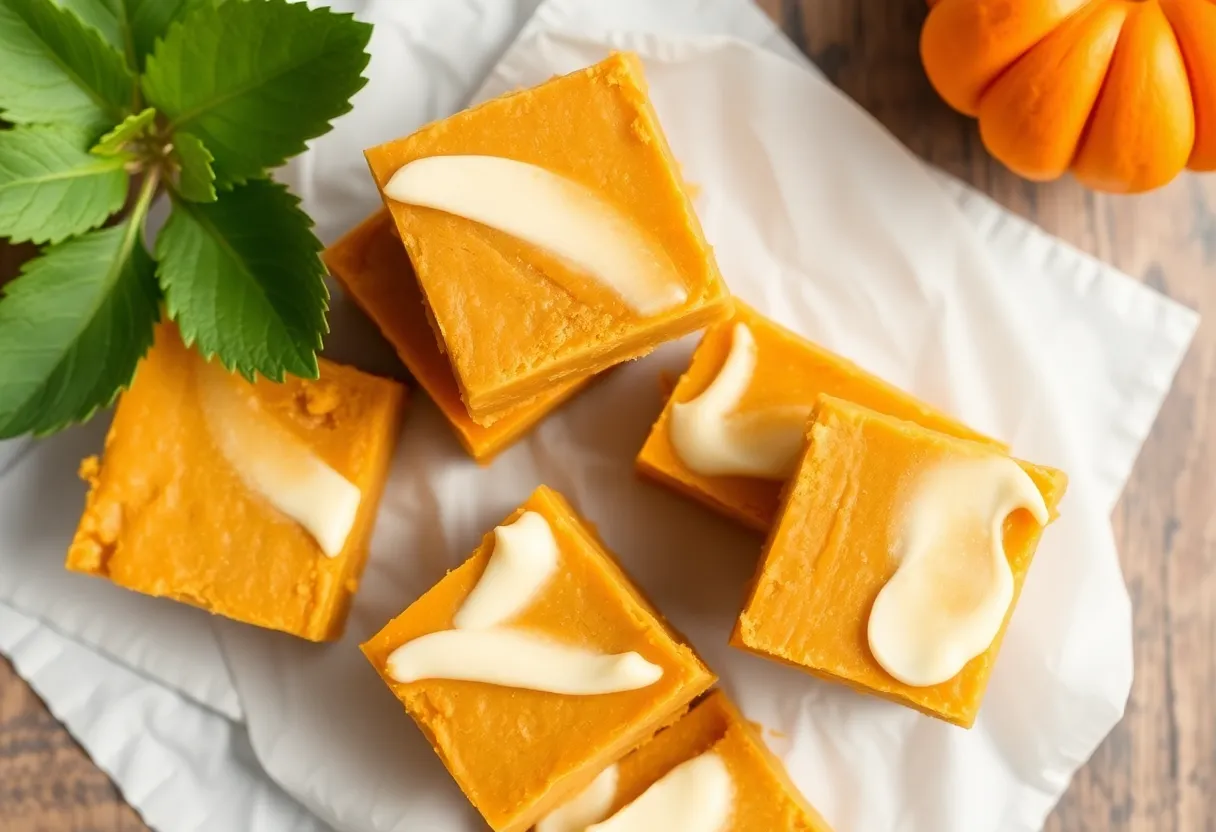
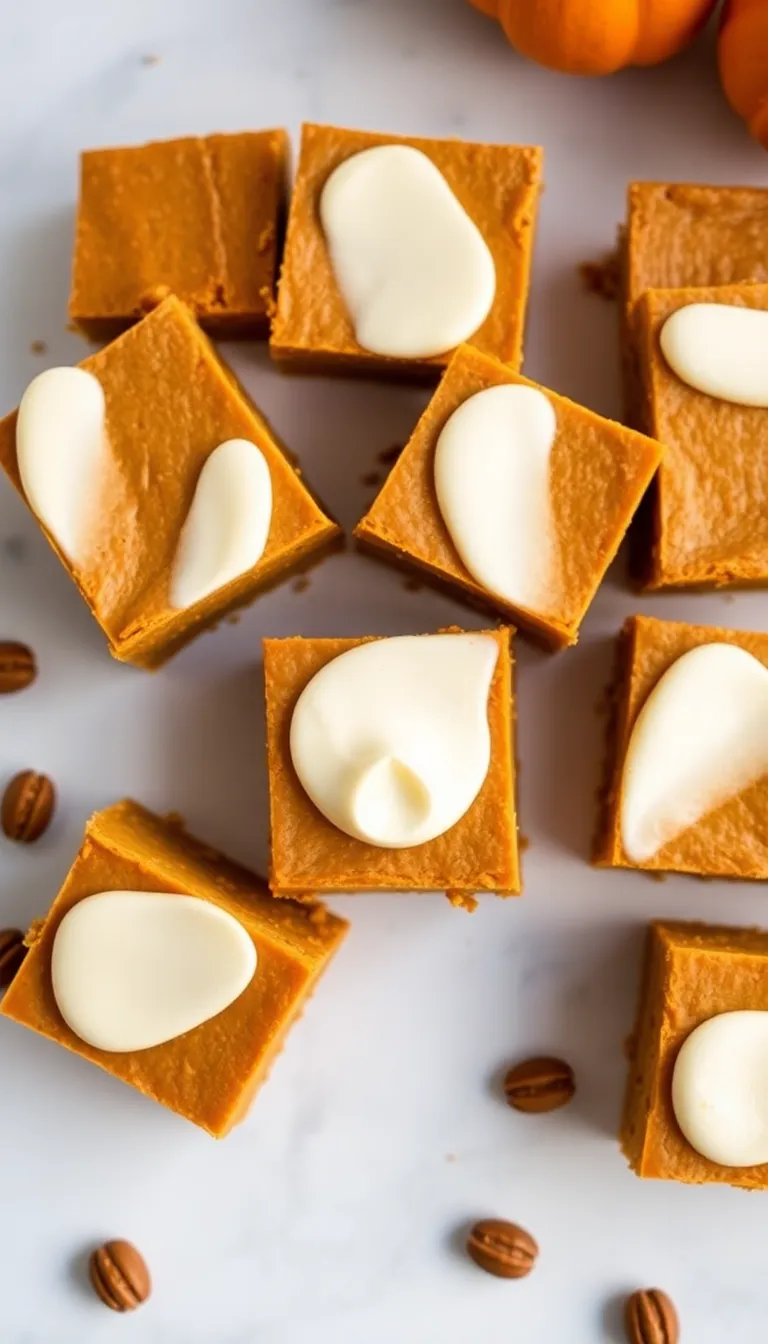
Imagine the creamy, spiced perfection of pumpkin pie, but in a portable, no-fuss bar form. No slicing, no crumbling, no awkward pie server required. Pumpkin pie bars are the ultimate hack for anyone who loves dessert but hates the drama of traditional pies.
They’re perfect for Thanksgiving, potlucks, or just a random Tuesday when you need a little autumnal joy. And let’s be real—who has time to wrestle with pie crusts when you can have all the flavor in half the effort? These bars are the MVP of fall desserts, and once you try them, you’ll wonder why you ever bothered with pie in the first place.
What Makes This Recipe So Good
Pumpkin pie bars are the lovechild of a classic pumpkin pie and a buttery shortbread crust.
The crust is sturdy enough to hold its own, but still melts in your mouth. The filling? Smooth, spiced, and just sweet enough without being cloying.
Plus, they’re ridiculously easy to make. No fancy techniques, no obscure ingredients—just straightforward, crowd-pleasing deliciousness. And because they’re bars, they’re easier to serve and share.
FYI, they also happen to be a great way to use up that can of pumpkin puree sitting in your pantry.
Ingredients
Here’s what you’ll need to make these pumpkin pie bars:
- For the crust: 1 ½ cups all-purpose flour, ¼ cup granulated sugar, ½ cup unsalted butter (cold and cubed), ¼ tsp salt.
- For the filling: 1 can (15 oz) pumpkin puree, ¾ cup granulated sugar, 2 large eggs, 1 tsp vanilla extract, 1 tsp ground cinnamon, ½ tsp ground ginger, ¼ tsp ground nutmeg, ¼ tsp ground cloves, ½ tsp salt, 1 cup evaporated milk.
- Optional topping: Whipped cream or a dusting of powdered sugar.
Step-by-Step Instructions
- Preheat your oven to 350°F (175°C) and line an 8×8-inch baking pan with parchment paper.
- Make the crust: In a food processor, pulse the flour, sugar, and salt. Add the cold butter and pulse until the mixture resembles coarse crumbs. Press the mixture evenly into the prepared pan and bake for 15 minutes.
- Prepare the filling: In a large bowl, whisk together the pumpkin puree, sugar, eggs, vanilla, spices, and salt.
Gradually whisk in the evaporated milk until smooth.
- Assemble and bake: Pour the filling over the pre-baked crust and return to the oven. Bake for 35-40 minutes, or until the center is set but still slightly jiggly.
- Cool and chill: Let the bars cool completely in the pan, then refrigerate for at least 2 hours before slicing.
- Serve: Cut into squares and top with whipped cream or powdered sugar if desired. Enjoy!
Storage Instructions
Store your pumpkin pie bars in an airtight container in the refrigerator for up to 5 days.
If you’re feeling ambitious, you can also freeze them for up to 2 months. Just wrap individual bars in plastic wrap and place them in a freezer-safe bag. Thaw in the fridge before serving.
Pro tip: Don’t leave them out at room temperature for too long—unless you’re into soggy crusts.
Benefits of the Recipe
These bars are a win-win. They’re easy to make, easy to serve, and easy to love. They’re perfect for feeding a crowd, and they travel well, making them ideal for potlucks or holiday gatherings.
Plus, they’re a great way to sneak in some pumpkin (which, IMO, counts as a vegetable). And let’s not forget the emotional benefits—baking these bars will make your kitchen smell like a cozy fall day, and who doesn’t need that?
Common Mistakes to Avoid
- Overbaking the filling: The center should still jiggle slightly when you take it out of the oven. Overbaking leads to cracks and a rubbery texture.
- Using pumpkin pie filling instead of puree: They’re not the same thing.
Pumpkin pie filling has added sugar and spices, which will throw off the recipe.
- Skipping the chill time: Patience is key. Letting the bars cool and chill ensures they set properly and slice cleanly.
Alternatives
If you’re feeling adventurous, here are a few ways to mix things up:
- Gluten-free: Swap the all-purpose flour for a gluten-free blend in the crust.
- Dairy-free: Use coconut oil instead of butter and coconut milk instead of evaporated milk.
- Spice it up: Add a pinch of cayenne pepper for a spicy kick, or swap the spices for a pre-mixed pumpkin pie spice blend.
FAQ
Can I use fresh pumpkin instead of canned?
Sure, but it’s a bit more work. Roast and puree a sugar pumpkin, then strain it to remove excess moisture.
Canned puree is just easier and more consistent.
Can I make these ahead of time?
Absolutely! These bars actually taste better the next day, so feel free to make them a day in advance.
Why is my filling cracking?
You probably overbaked it. Next time, pull the bars out of the oven when the center is still slightly jiggly.
It will set as it cools.
Can I double the recipe?
Yes! Just use a 9×13-inch pan and adjust the baking time as needed. Keep an eye on the filling to avoid overbaking.
What’s the best way to cut clean slices?
Use a sharp knife and wipe it clean between cuts.
For extra clean edges, chill the bars in the freezer for 15 minutes before slicing.
Final Thoughts
Pumpkin pie bars are the ultimate fall dessert hack. They’re easy, delicious, and versatile enough to please even the pickiest eaters. Whether you’re a seasoned baker or a total newbie, this recipe is foolproof.
So, what are you waiting for? Grab that can of pumpkin puree and get baking. Your taste buds (and your Instagram feed) will thank you.